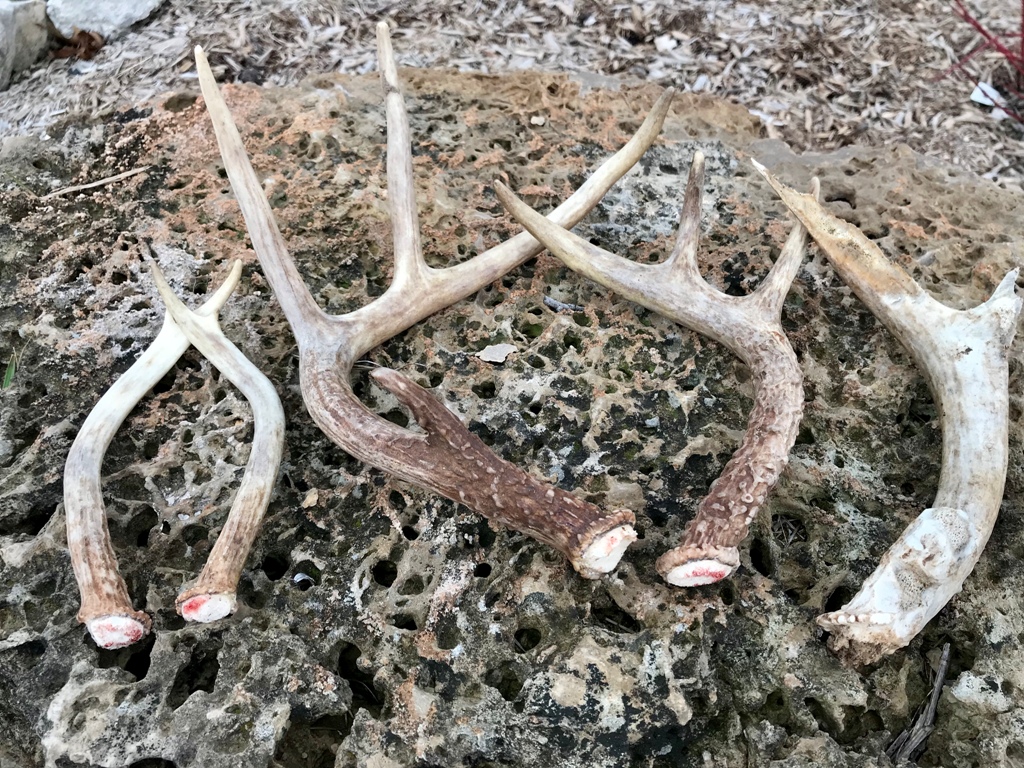
Bucks started shedding their antlers early this year here at The Proving Grounds. We watched bucks that were using the food plots near our house with the iScope and saw that about half the bucks coming into the field had shed. The Reconyx trail cameras showed that there were a lot of bucks that had already shed on a pattern at a food plot we call “North Field.” Given this great information, I was excited to take Crystal (my Labrador Retriever that has been trained to find antlers) over to hunt this area for shed antlers. We had a great Saturday morning shed hunting. We’ve been out every day this week searching new areas. While we were out I captured the following images to show how we shed hunt.
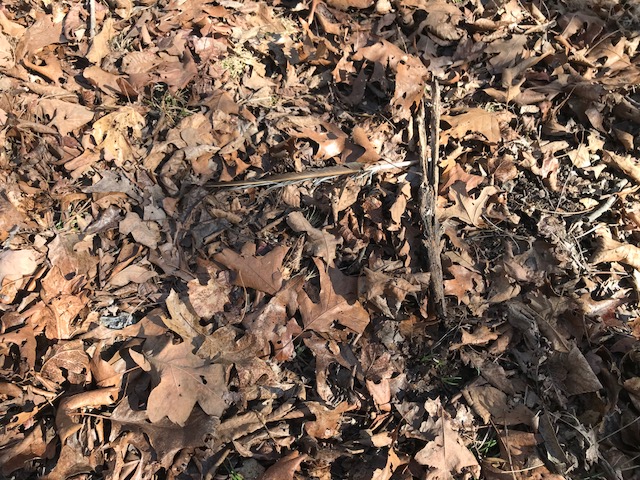
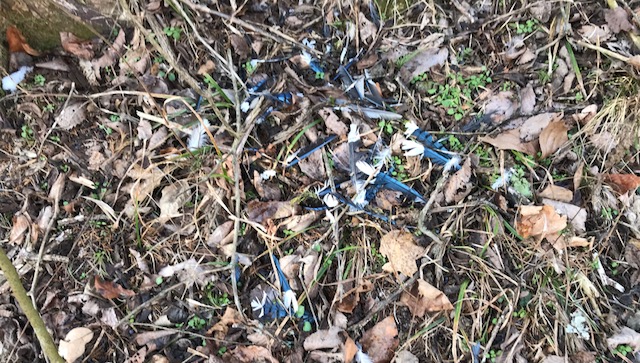
Following a rub line is a great strategy for finding shed antlers. It’s assurance that you are searching in an area that the bucks have been using. Take a good look at this photo series. If you look closely you will see multiple rubs in several of the photos.
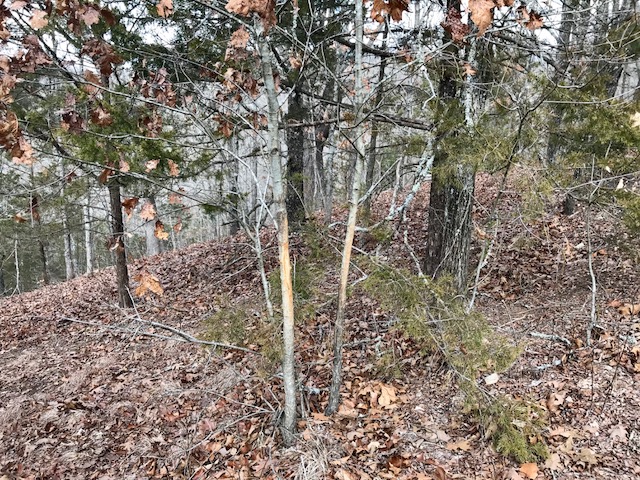
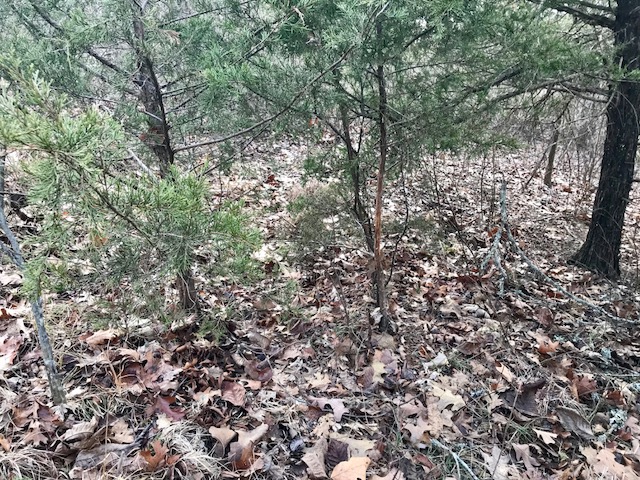
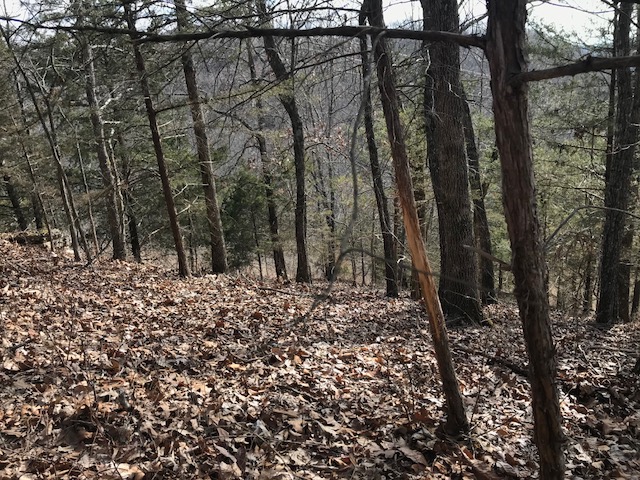
Finding rubs and scrapes are one of the keys to staying motivated while shed hunting. There is always a fresh burst of energy to walk and hunt just a little bit longer when there is such obvious sign that the bucks were/are actively using an area. Following this rub line payed off for us. It eventually led to where the deer had bedded down on a south facing slope. We had just come out of very cold spell, with abnormally low temps and snow. The deer found refuge and warmth on this south facing slope, in the timber, out of the wind and with sun on those clear days.
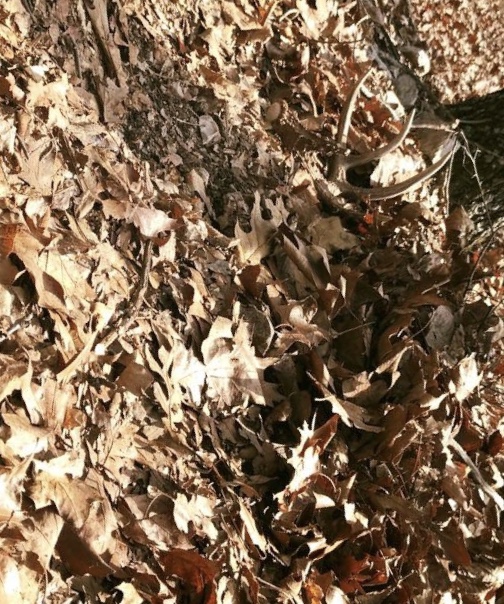
When I come across sign that deer have been bedded down in an area, I always slow down and spend a little extra time thoroughly checking each bed for antlers.
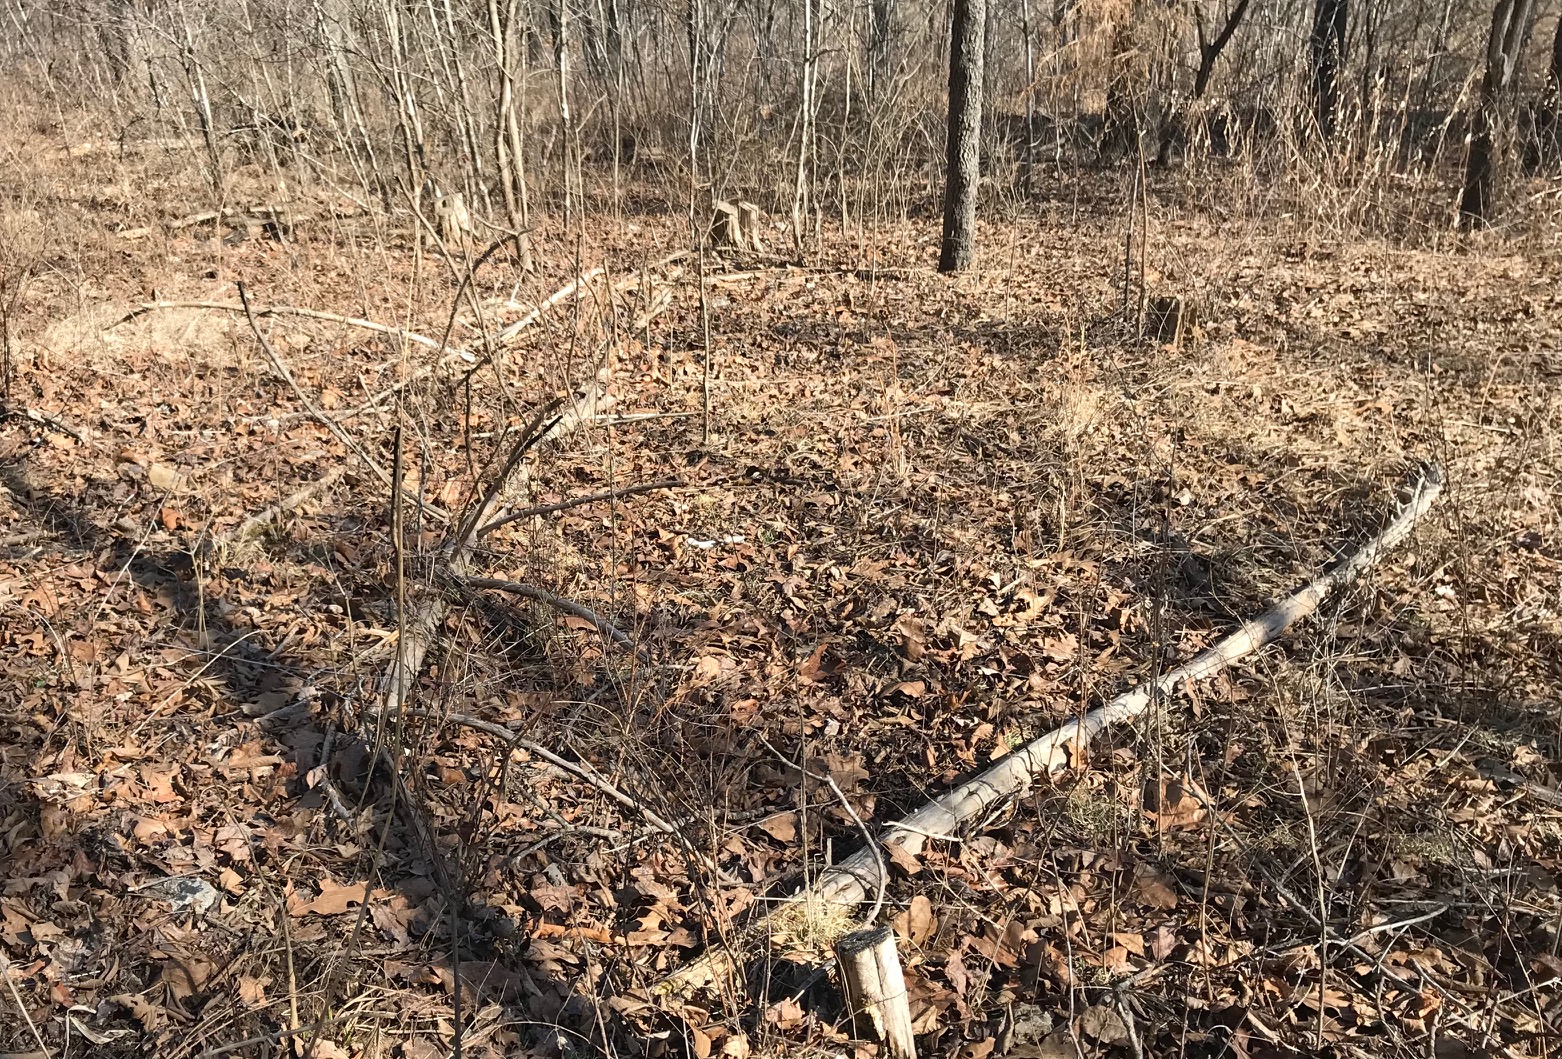
Even if you don’t find a rub line, look for deer trails. Stay focused and stay on the trail. It’s better to stay on the trail with obvious deer sign than wander aimlessly in the woods “hoping” to come across better sign.
I had success walking through a thicket of briers and honeysuckle this week. The deer trails were obvious so it made sense to check it out.
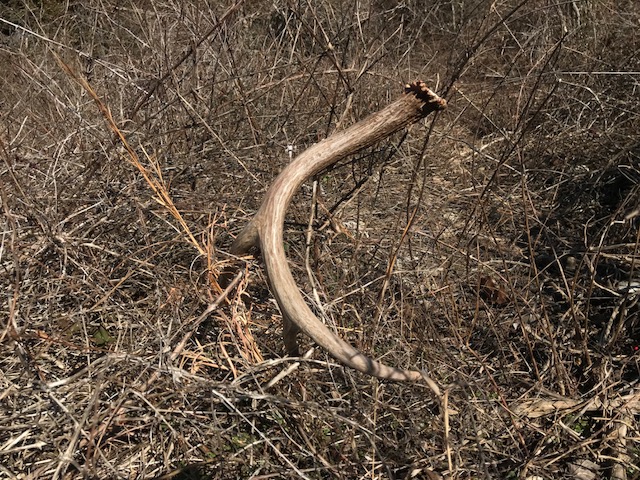
When you’re walking an area, walk slowly (it’s not a race, it’s a hunt!) and frequently turn around and look behind. Get a different perspective on the ground you’ve already covered. The change in perspective might make that antler “appear” out of the leaves, grass, or brush. Why? Because the angle the antler is turned (tines down, tines up, buried and the base only showing, or just a tip of a tine) might catch the light or be more obvious. Additionally, those pesky squirrels might have found the antler and left it at the base of the tree out of your line of sight if you are only looking forward.
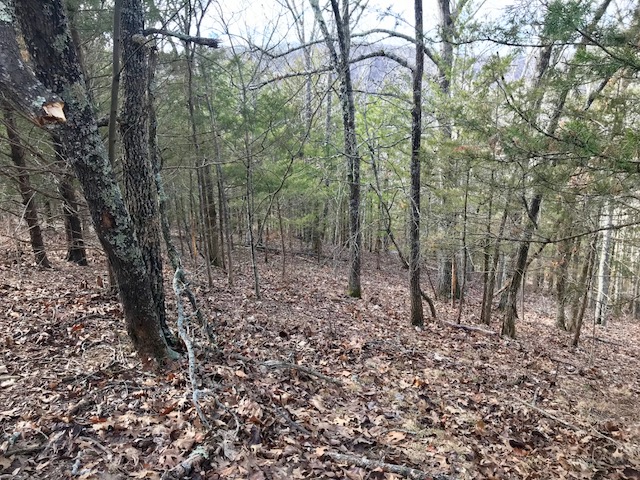
Perspective, or angle, and light are important aspects of shed hunting. Especially if you are searching in hilly country (like I am). I prefer to shed hunt walking uphill. I know that sounds crazy. Walking uphill forces you to be just a little slower. The upward slope also makes the antlers stand out more.
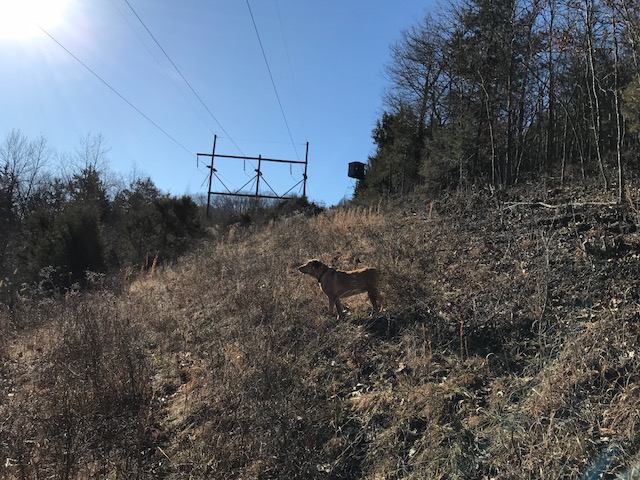
That said, it’s also important to turn and look downhill to get that different perspective on the antler that was camouflaged or buried in the brush.
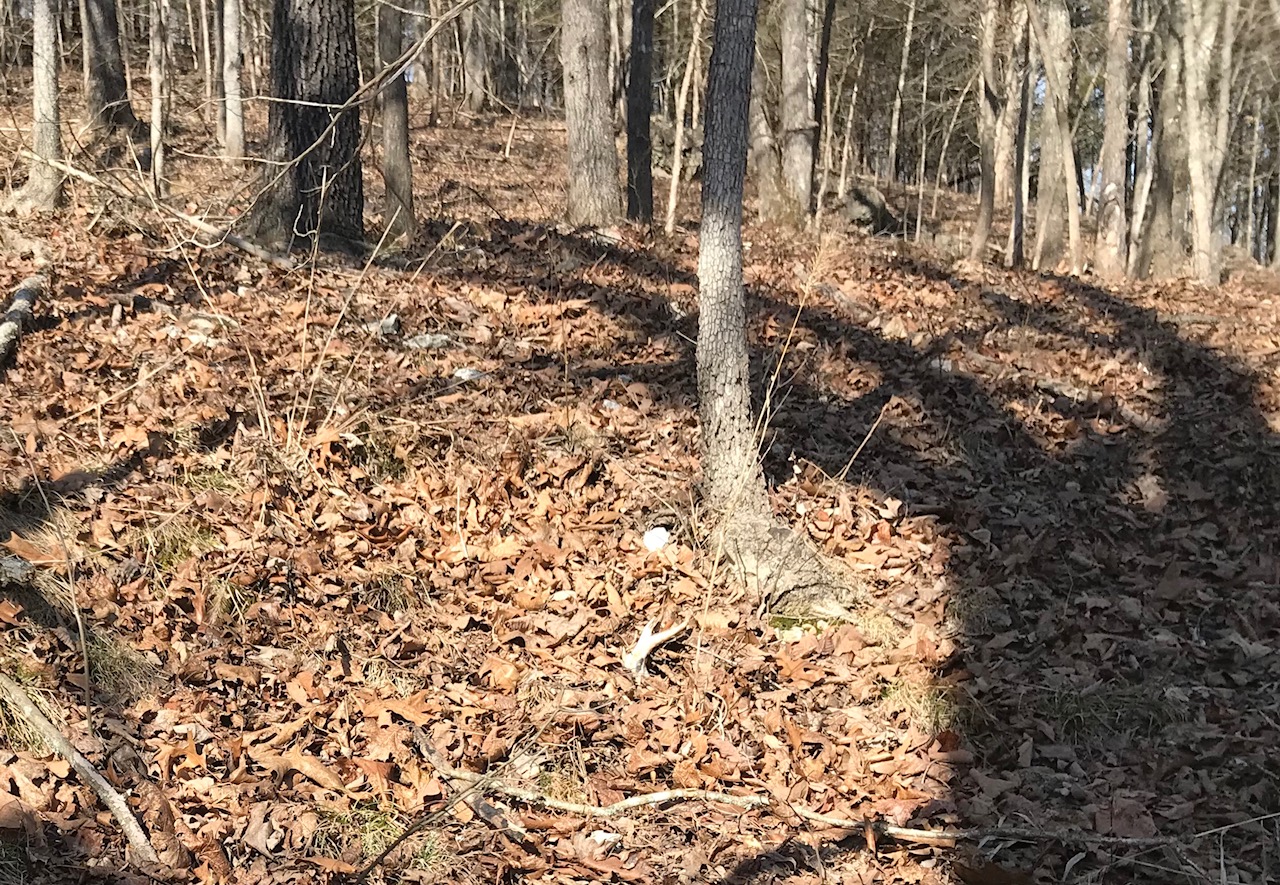
I prefer to shed hunt on overcast days. Bright, sunny days will either wash out the contrast or throw so many shadows that differentiating corn stalks, sticks, chewed up turnips, rocks, etc. from an antler almost impossible.
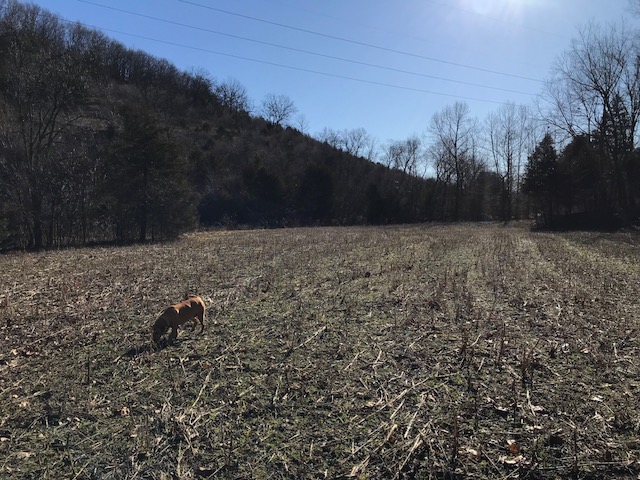
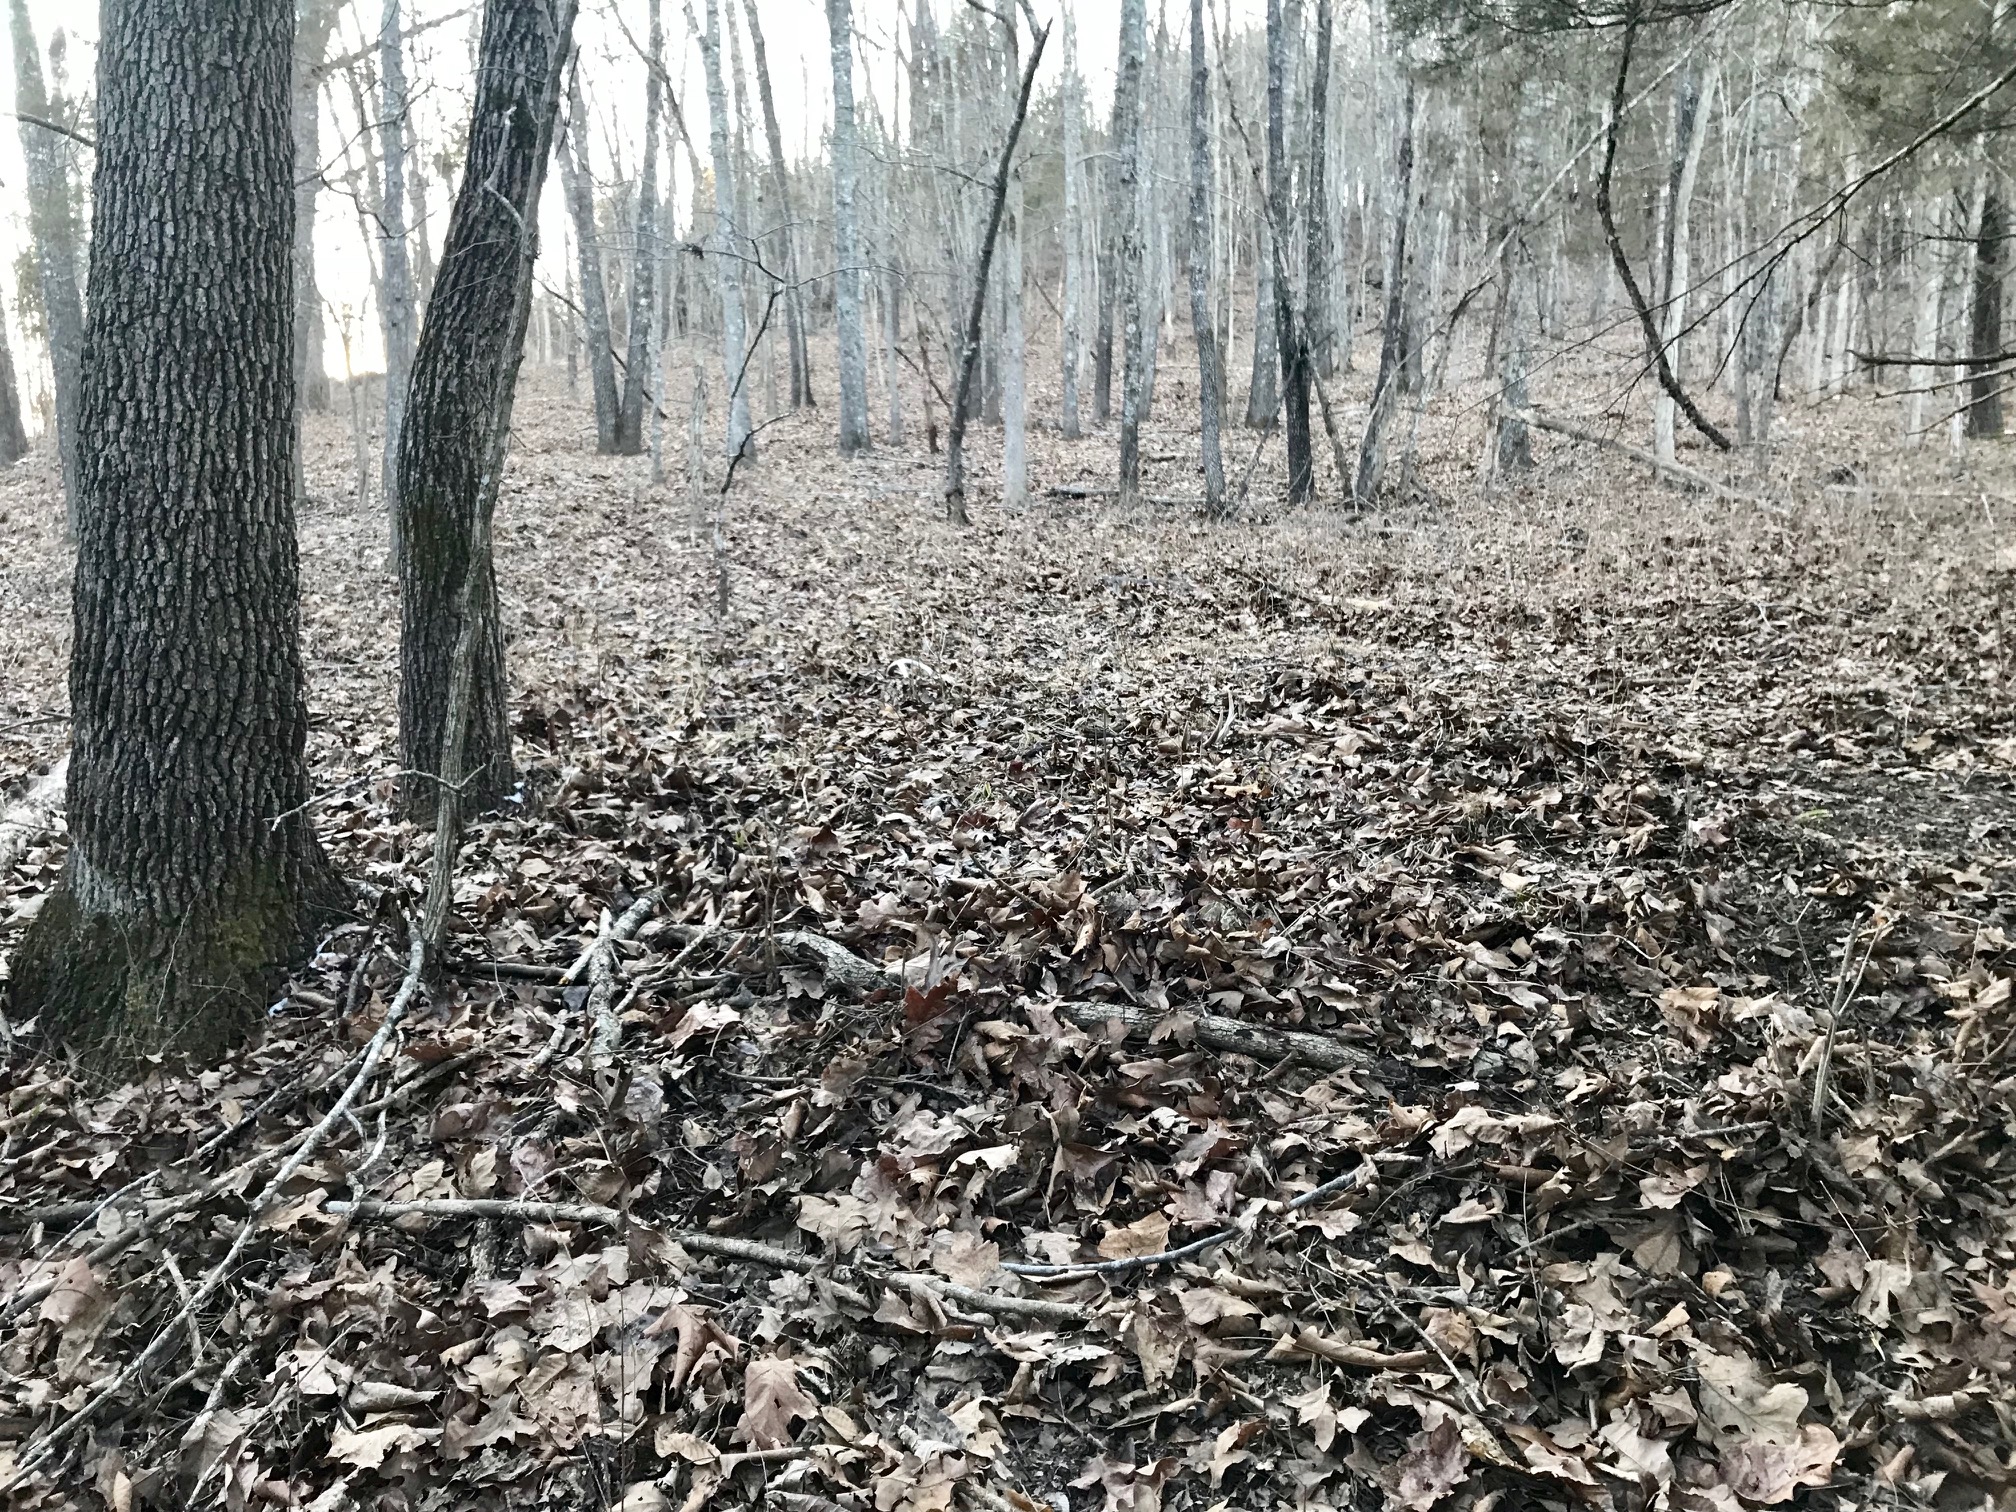
The above photo shows how the light can make shed hunting harder. We were walking towards the sun. At times like this, improve the odds of finding an antler by turning around and walk with the sun at your back.
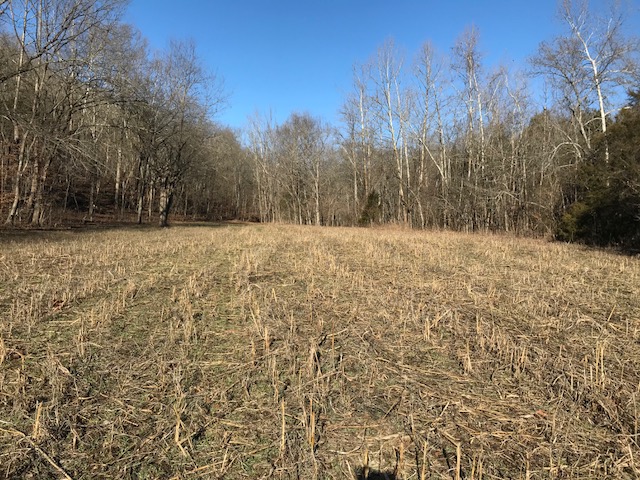
See the difference?
When I shed hunt I carry a backpack. Usually there are two or three bottles of water, snacks, dog treats, and lots of empty space. The empty space is there to put my jacket as the day warms up and, most importantly – for all the antlers we find!
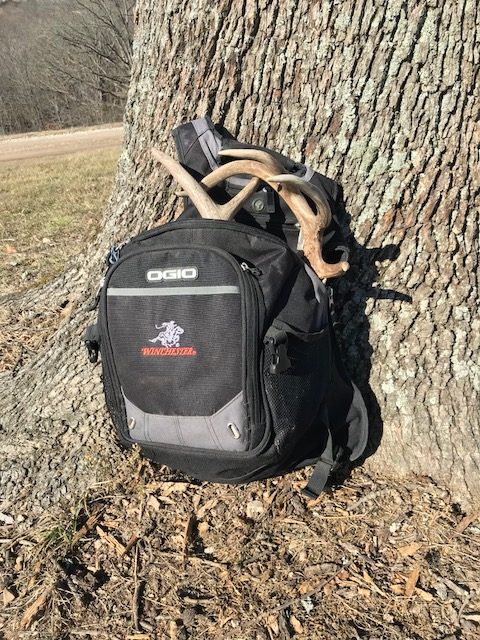
We’ll be shed hunting as much as possible over the next few weeks. I’ll share more about what we’re doing and where we’re finding sheds again soon!
Hunting shed antlers,
Tracy Woods
