Category: Hunting Blog
Creating Hunting Strategies Based on Thermals, Wind Speed, Wind Direction
A viewer recently asked for help on figuring out the thermals and wind direction for his hunting property.
It’s difficult to forecast how the wind will react to the timber and openings on a property until you get boots on the ground.
Thermals are simply air masses moving based on land and air temp. Basically, cold air is heavy and therefore sinks. Warm air is light and therefore rises. This is easy to picture on a relatively homogeneous habitat.
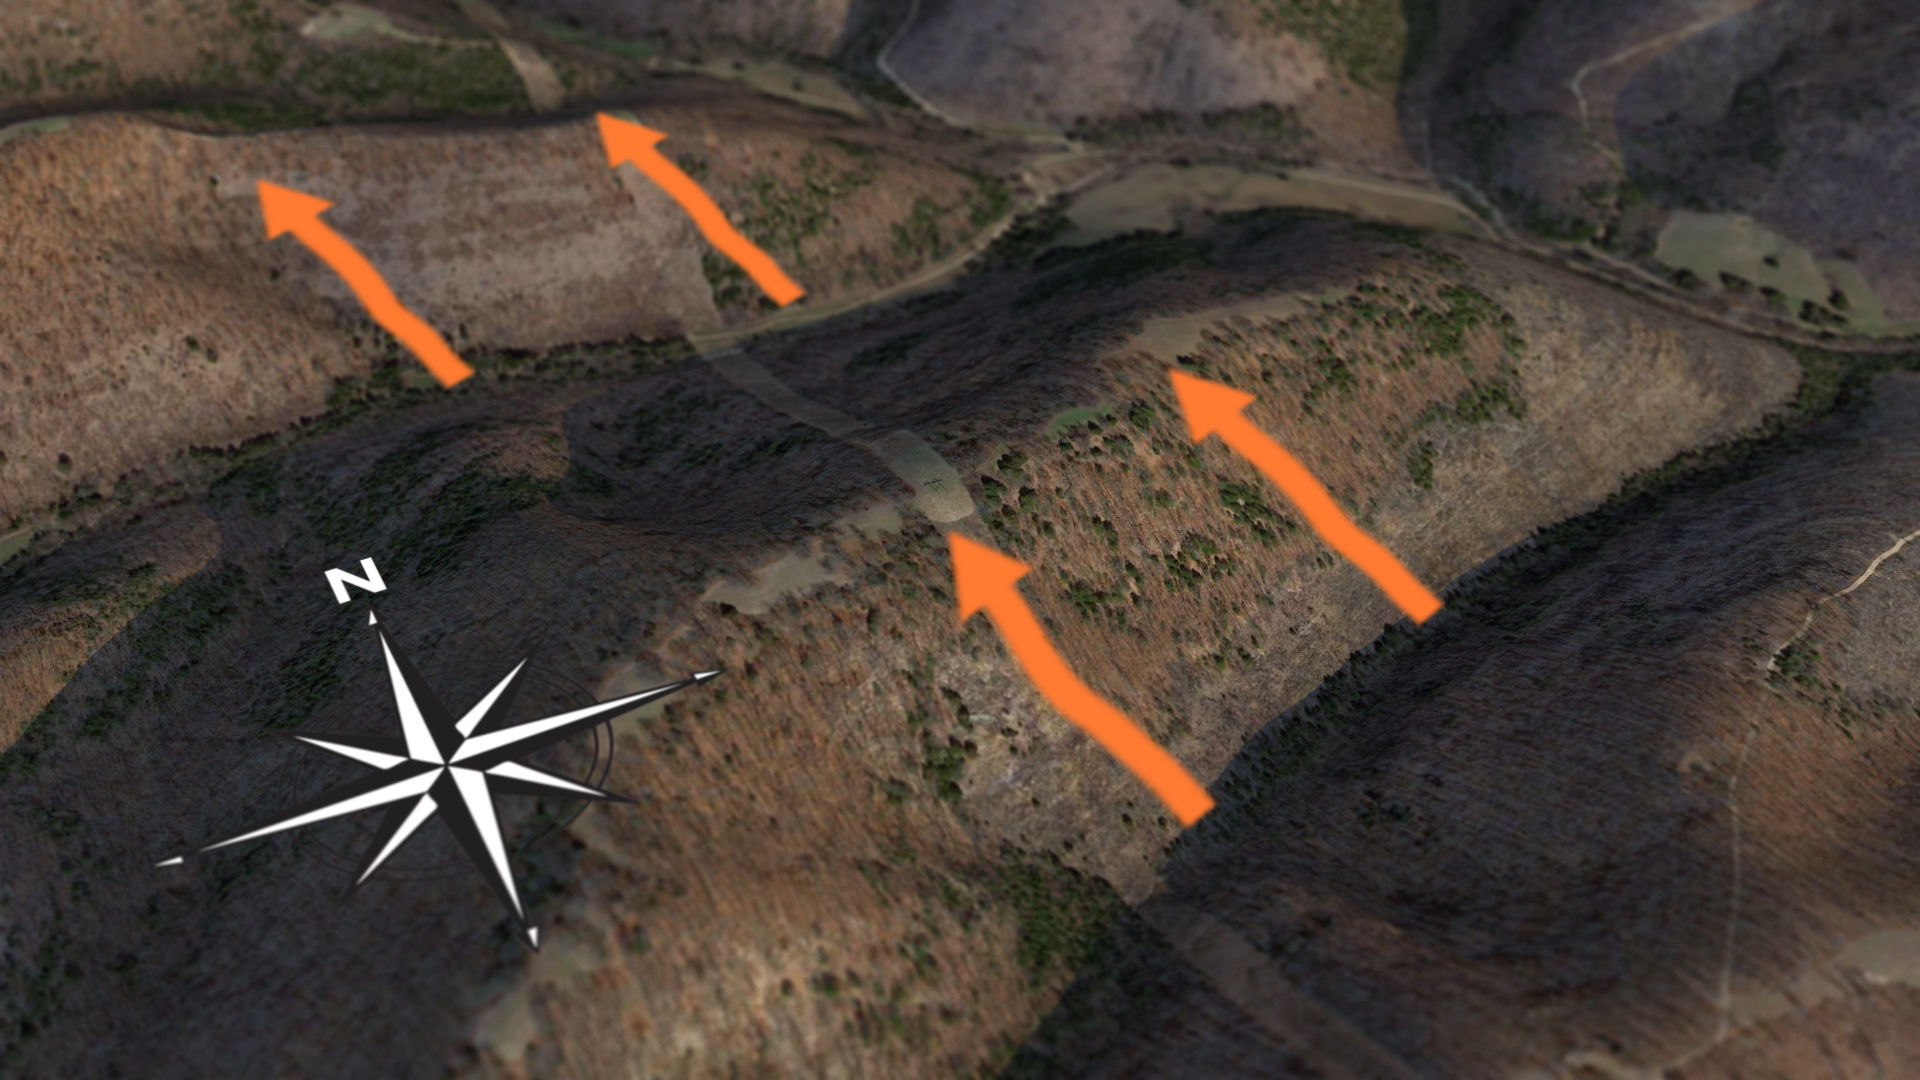
Understanding and using thermals to pick stand locations gets tricky when there’s a mix of shade (cool) and open (warm if sun is shining on it) habitat. In addition, as the sun’s relationship to the earth changes, so can the direction of thermals.
I try to find stand sites where the thermals and/or wind direction will remain the same during my hunt.
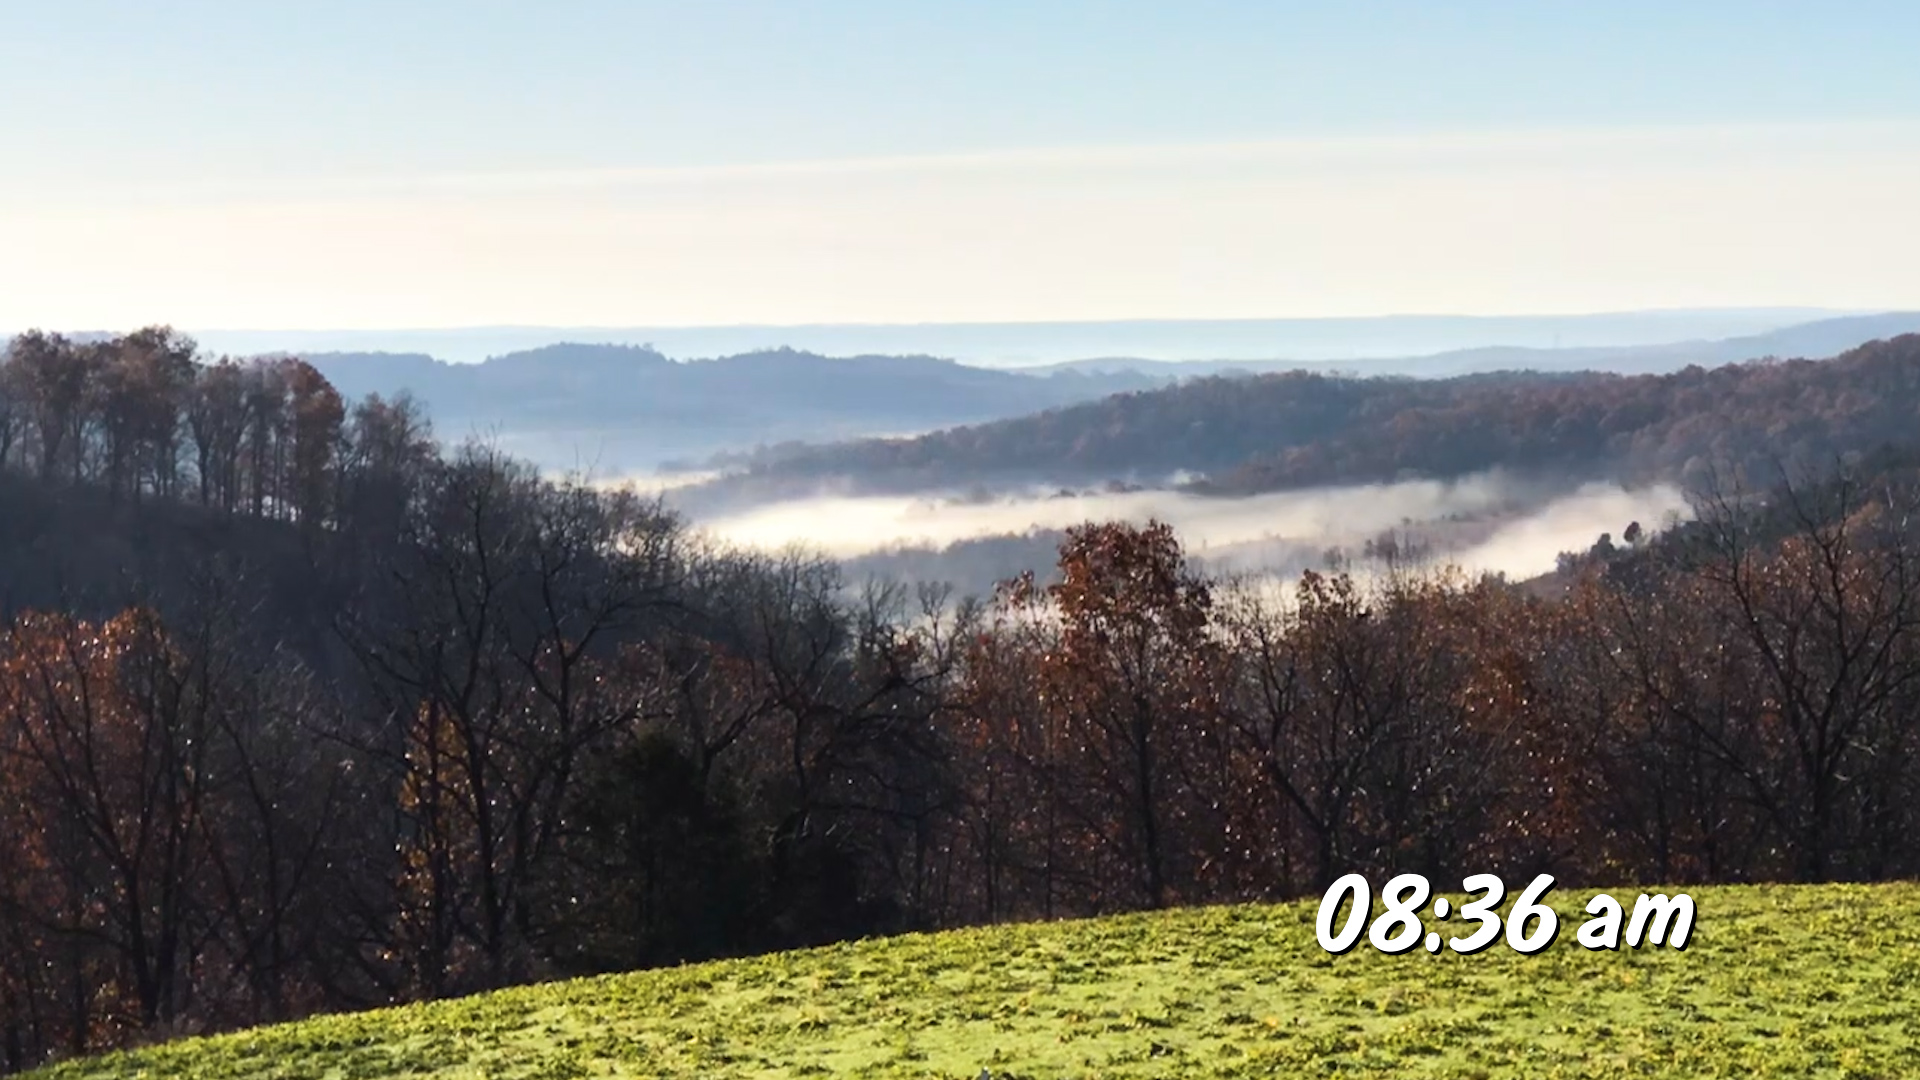
The combination of wind speed and direction and thermals can be tough to figure out when paired with topography and cover. Strong (10+ MPH) winds are relatively easy as they usually override thermals. When the wind speed is slower than that thermals and topo/cover may have more of an impact on wind speed.
One of our bigger food plots, Crabapple, is in a bottom – next to a creek. Plots in bottoms can be tough to hunt during warmer weather as deer tend to bed high and move down to plots to feed. The rising thermals (hot air rises) usually alerts deer to the presence of a predator (hunter) located in a bottom. However, air rarely rises when the temps are very cold.
The thermal currents should be sinking toward the creek (cold air sinks). This is more prevalent at the Crabapple plot because it is at the base of a large hill to the west. Hence the field is shaded by the sun early in the afternoon – allowing the air to cool even quicker. This often provides us the ability to enter a stand at Crabapple with the thermals in our favor.
If you want to dig deeper and see how we evaluate thermals and wind direction in planning our hunts, check out these videos: 472, 495, 507, 563, 572.
To dig even deeper and see all the videos and blogs where thermals are mentioned, enter the word “thermals” in the search box to the bottom right of the video player on the home page, select “other” from the drop down box, then click “go” on the far right of the search box.
Enjoy creation,
Grant
Today’s Hunting Strategy: 46 Degrees
The temperature was 46 degrees this morning with a 1mph south wind. We’re hunting in a pair of Summit Stands just above a creek on top of a bluff.
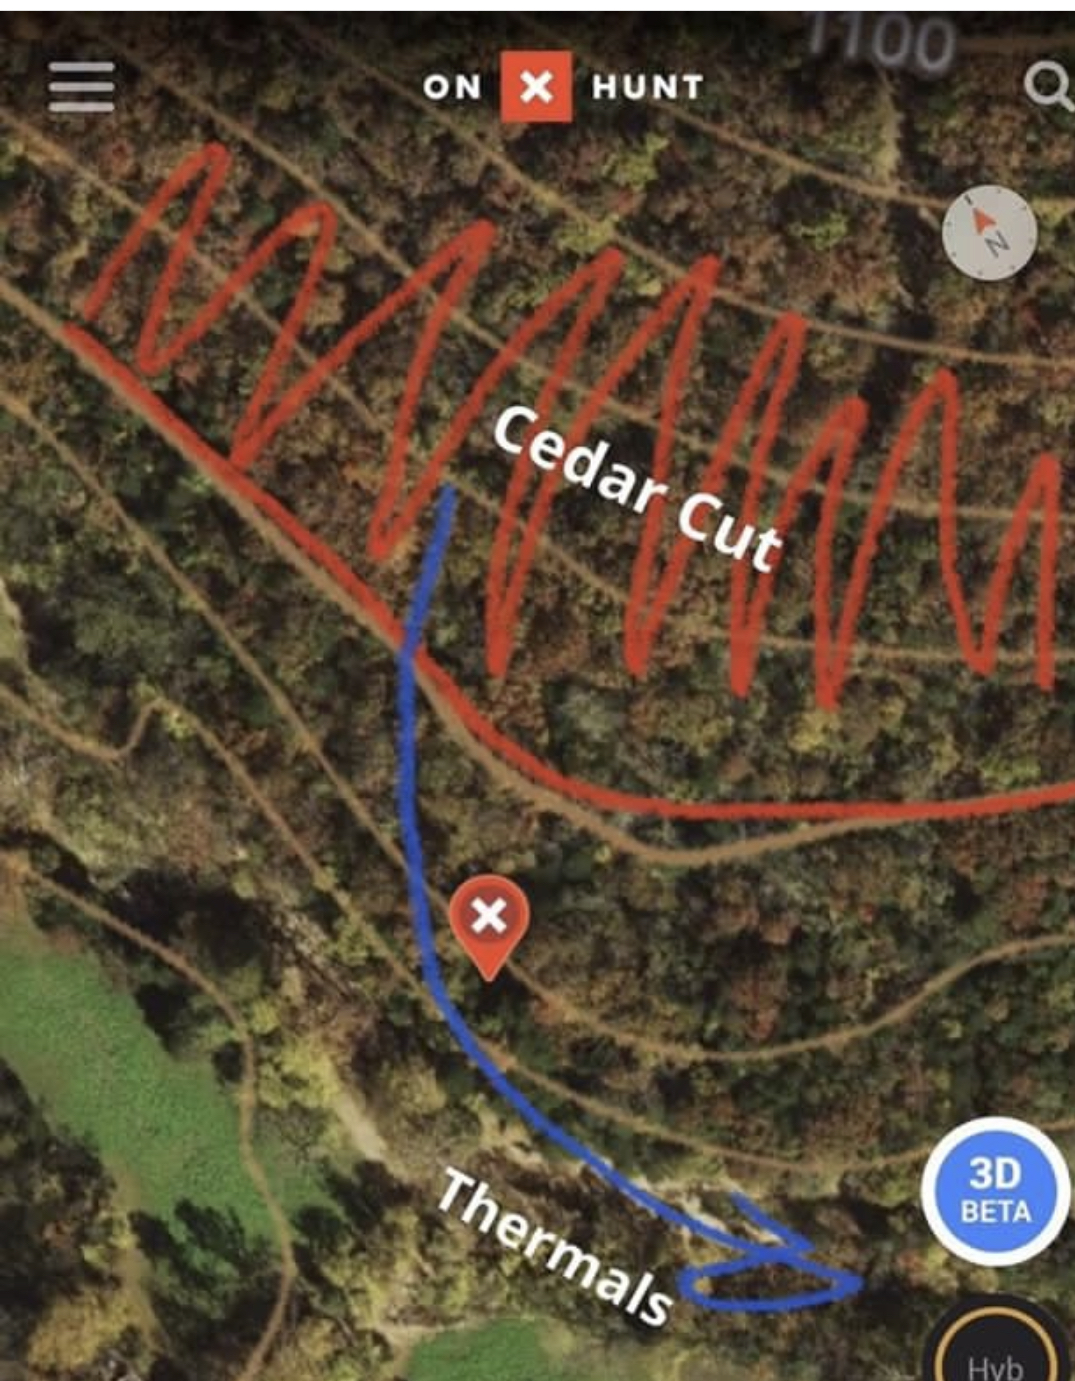
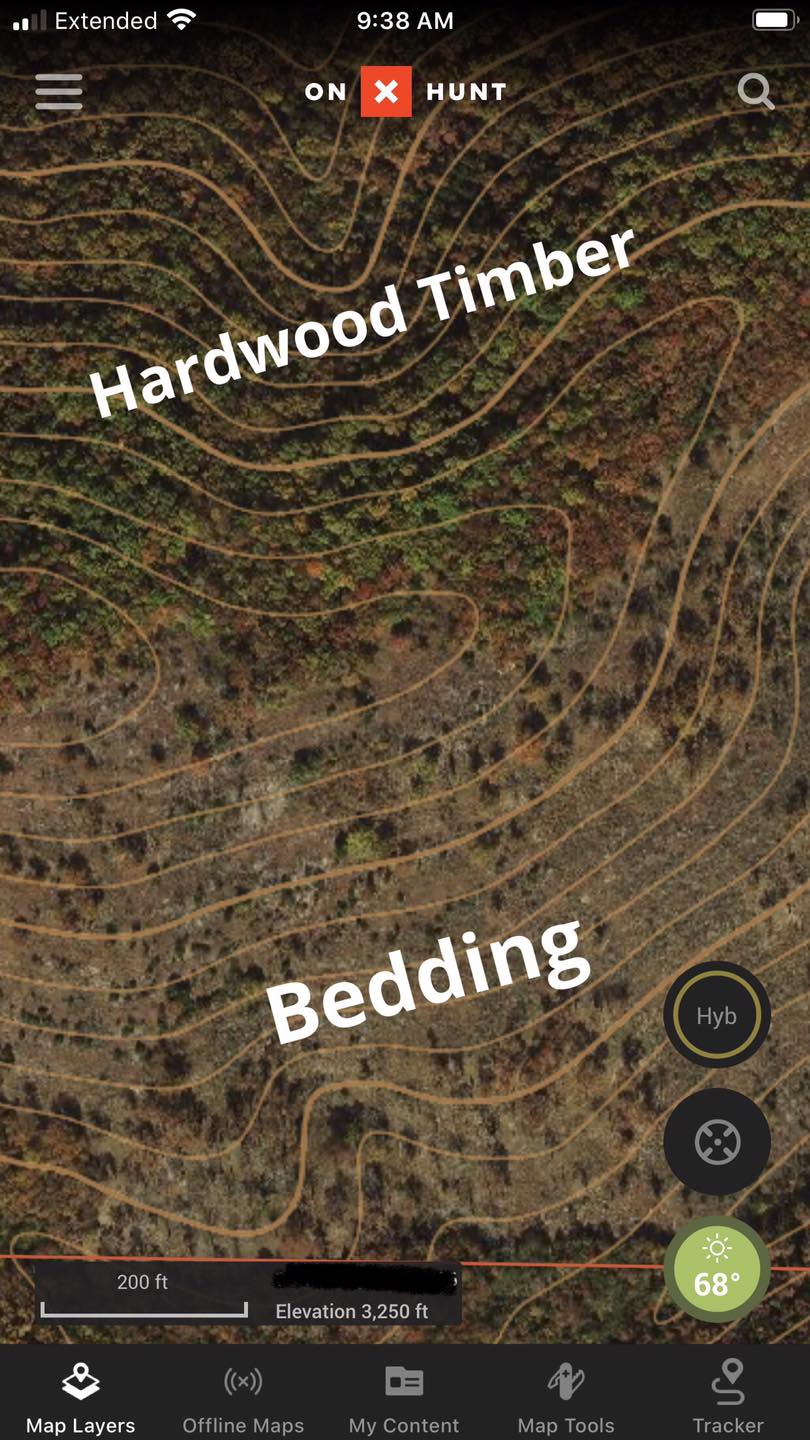
Out in front of us is a strip of hardwood timber with a recent cedar cut above. The bluff and the cedar cut act as a great pinch point as deer travel through the hardwoods. (The screenshot of the OnX map shows our hunting set-up best.) Even though there is a south wind, the thermals are stronger.
The cold is sinking down the mountain and being carried to the south. Because this is an west facing slope, it will not receive sunlight until later during the morning. Cool air will continue to sink until the sun rises over the mountain. This will allow us to hunt this location longer than if we were hunting under the same conditions on a south facing slope. We’re hoping bucks aren’t on their feet this morning!
Archery Practice: Aim for the Lower Third
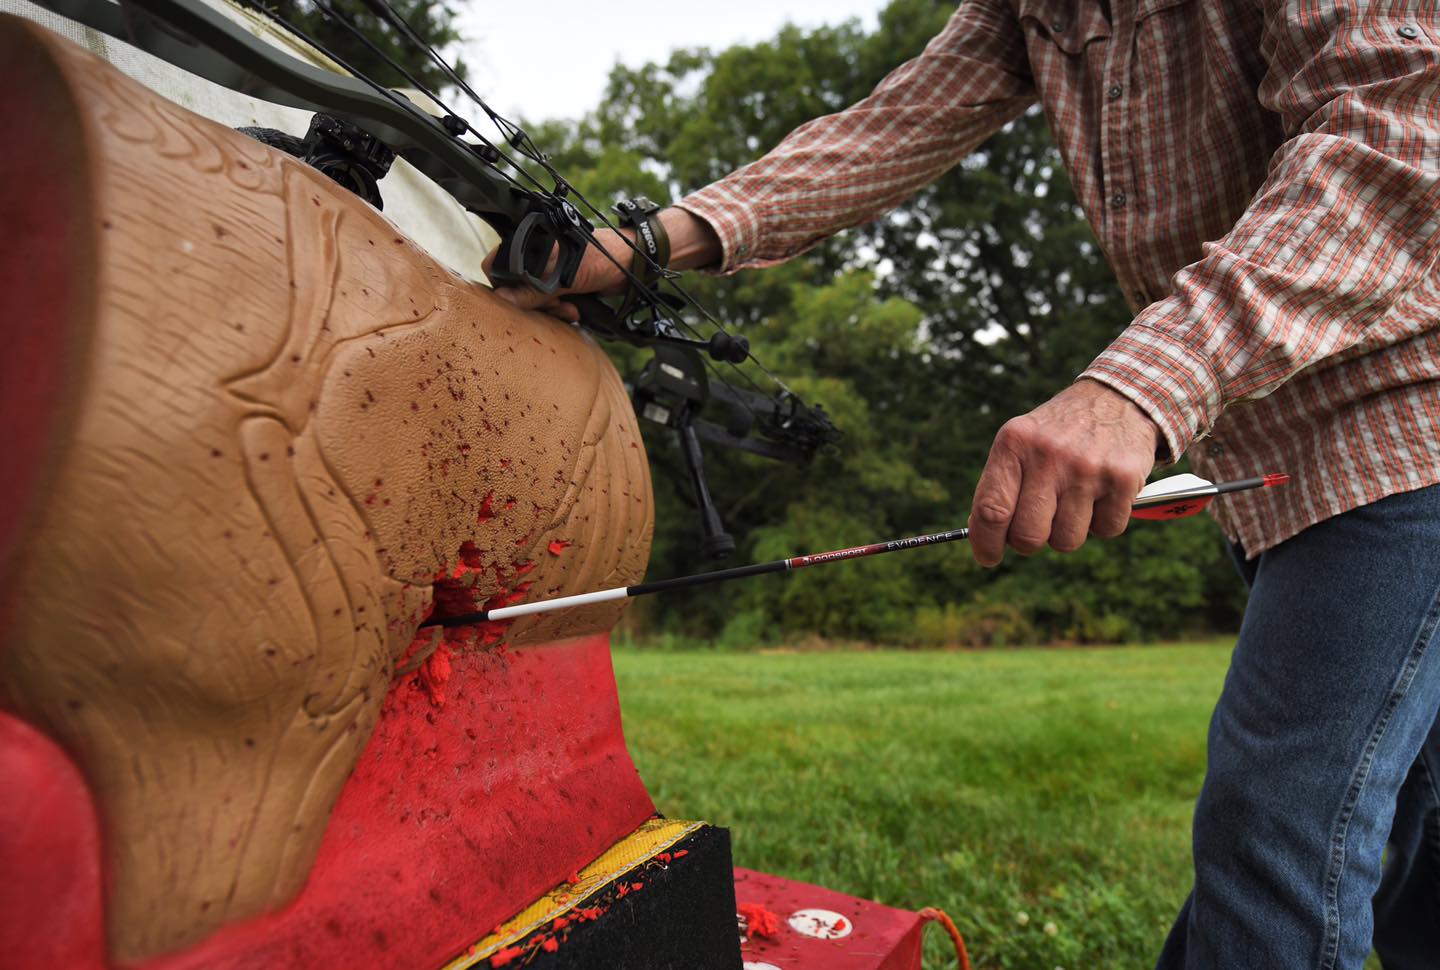
We expect deer to react to the shot (we’ve seen this over and over). We practice like we hunt. When shooting at a deer or target, we aim at the lower 1/3 of the kill zone. If the deer reacts/drops, the shot is still in the kill zone. If the deer doesn’t react, it’s in the heart and/or bottom lungs.
I aim at the bottom third of the deer’s chest whether they are 20 or 40 yards away. I rarely shoot at deer past 40 yards for fear the deer will move and I rarely worry about deer dropping below the flight of the arrow if they are much closer than 20 yards. There are multiple advantages to aiming at the lower third of a deer’s chest. Wounds here usually produce better blood trails because the chest cavity doesn’t have to fill with blood before it starts exiting the wound.
I practice aiming at the bottom third so it’s a normal sight pattern when I’m hunting! See this video that shows how aiming for the lower third pays off!
New Hidey Hole Food Plot At Edge of Bedding Area and Timber
We’re very excited about this new hidey hole food plot. It will be located on top of a ridge on the edge of a hardwood timber and a south facing slope/bedding area.
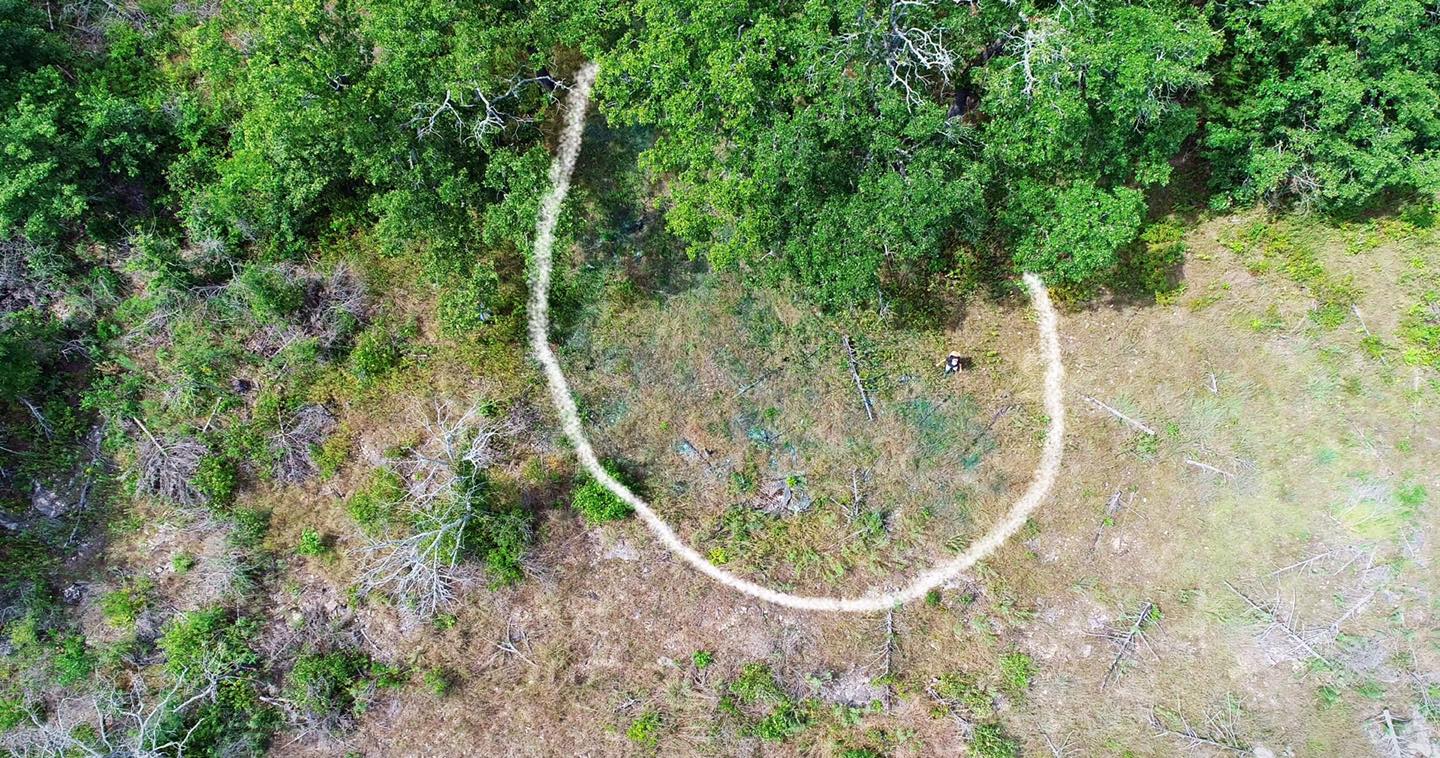
This is a great travel corridor. Deer already naturally travel across the saddle in the ridge and along the edge of the timber and bedding area.
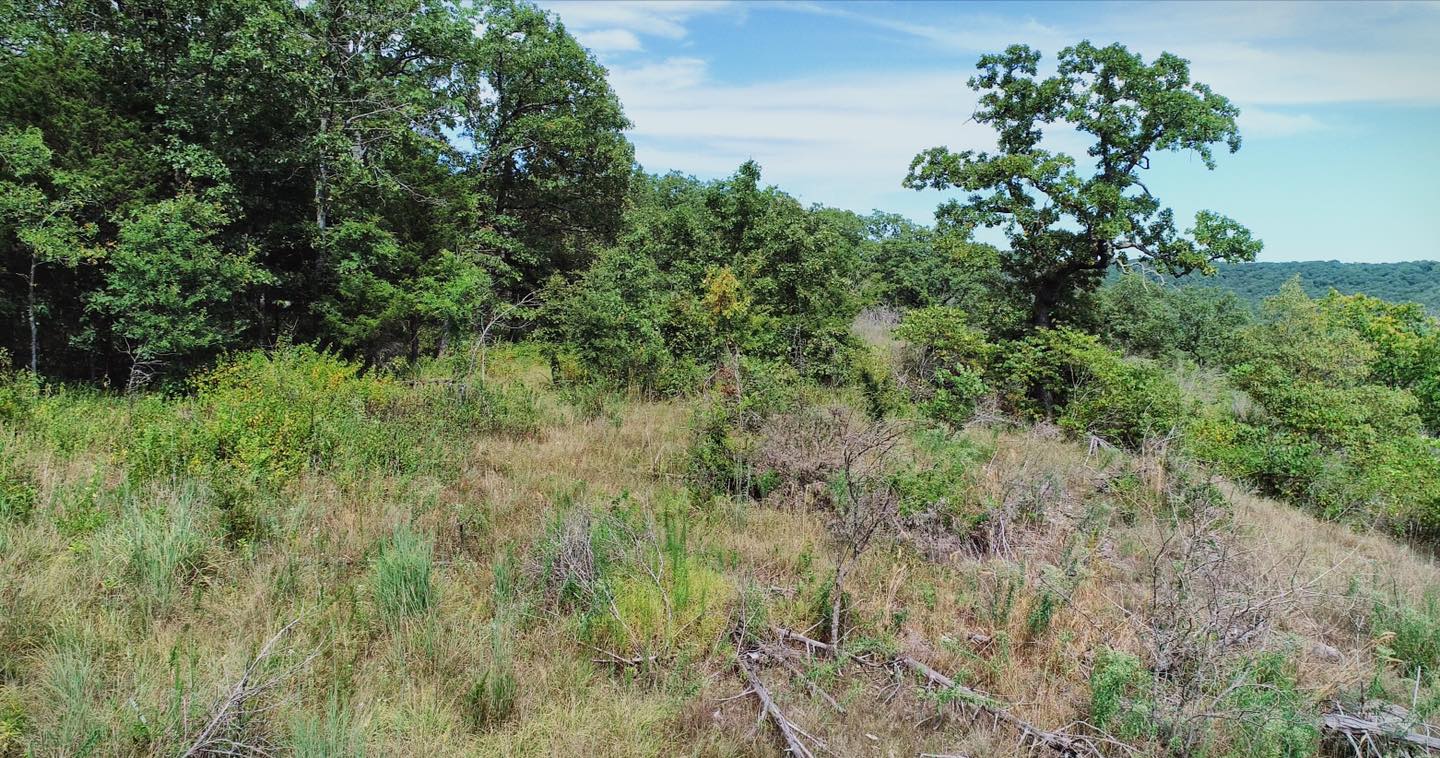
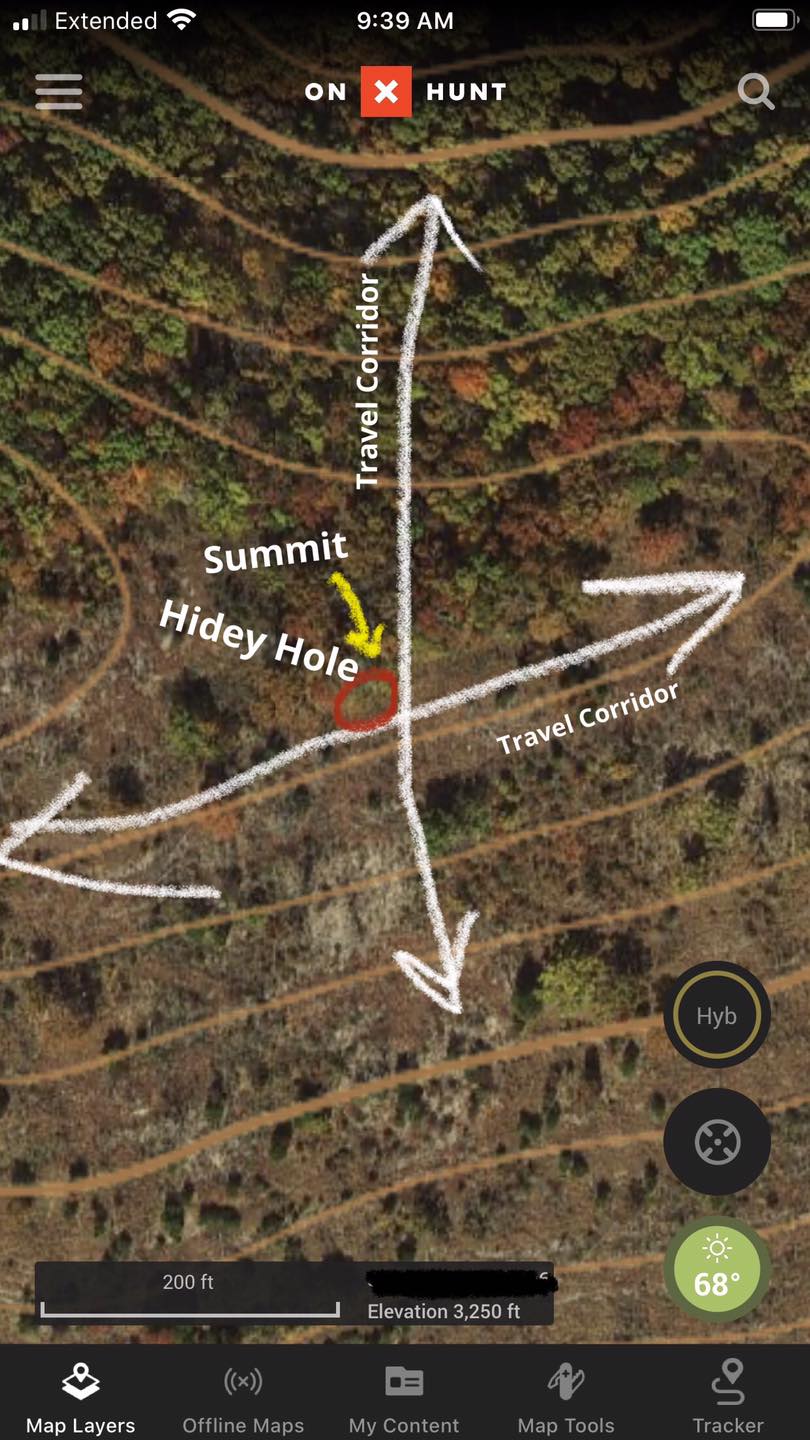
Adding an attractive food source will make this an ideal hunting location! We are simply terminating the vegetation with backpack sprayers and will broadcast Eagle Seed Fall Buffalo Blend seed right before or during a rain.
How High Do You Place Your Treestands?
Folks often ask how high we place our Summit Treestands. There are many factors. One is cover.
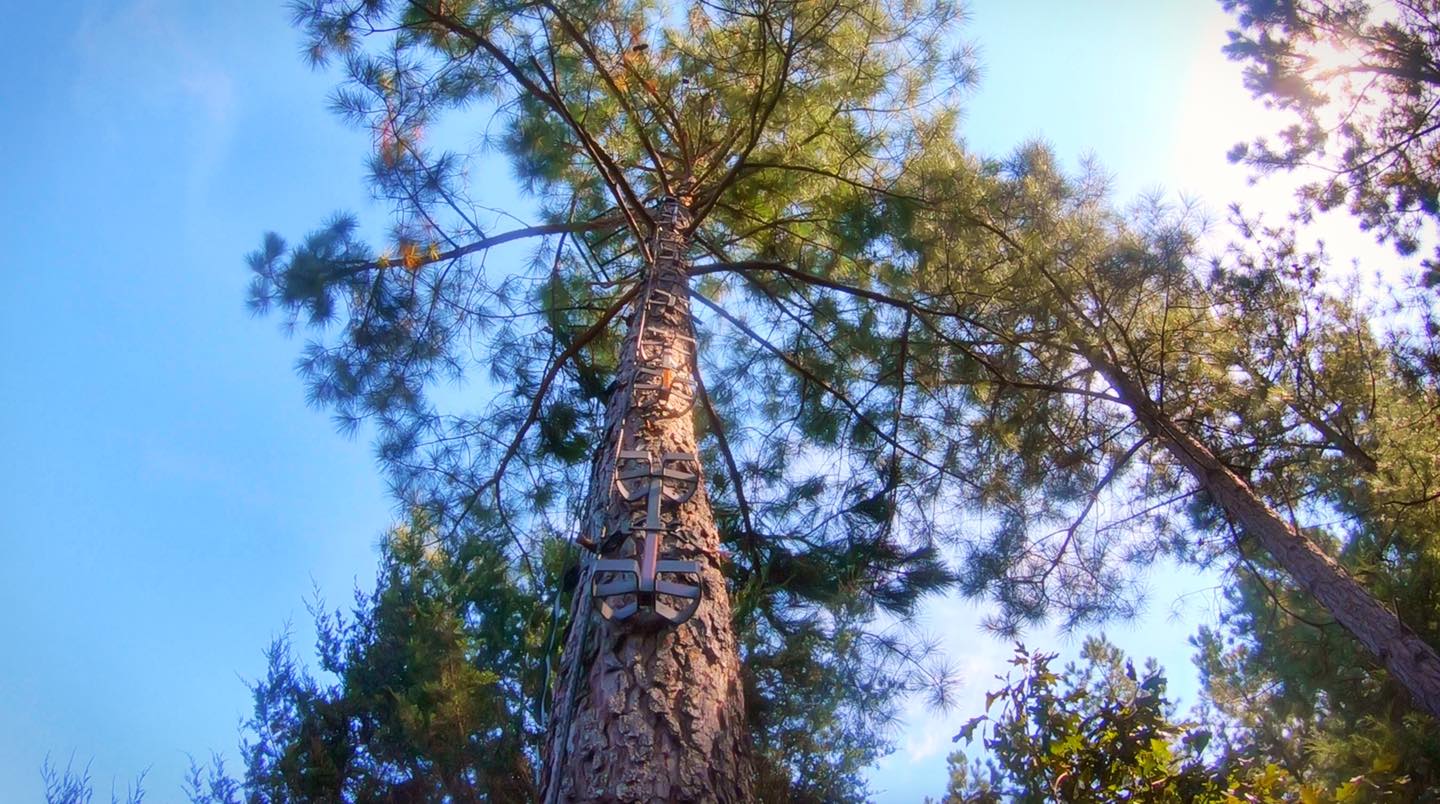
When possible, we like to have cover (limbs and leaves) to break up the hunter’s silhouette and mask movement. We also consider if a tree will provide cover throughout the entire season (even after leaves fall). Cover varies from tree to tree and we adjust our stand height accordingly.
Most of the stands we hang for bow hunting are 20′ +/– high. If stands are much higher it’s very difficult to get both lungs if the deer is relatively close to the stand due to the angle. Some stands may be a bit higher or lower based on the topography near the stand.
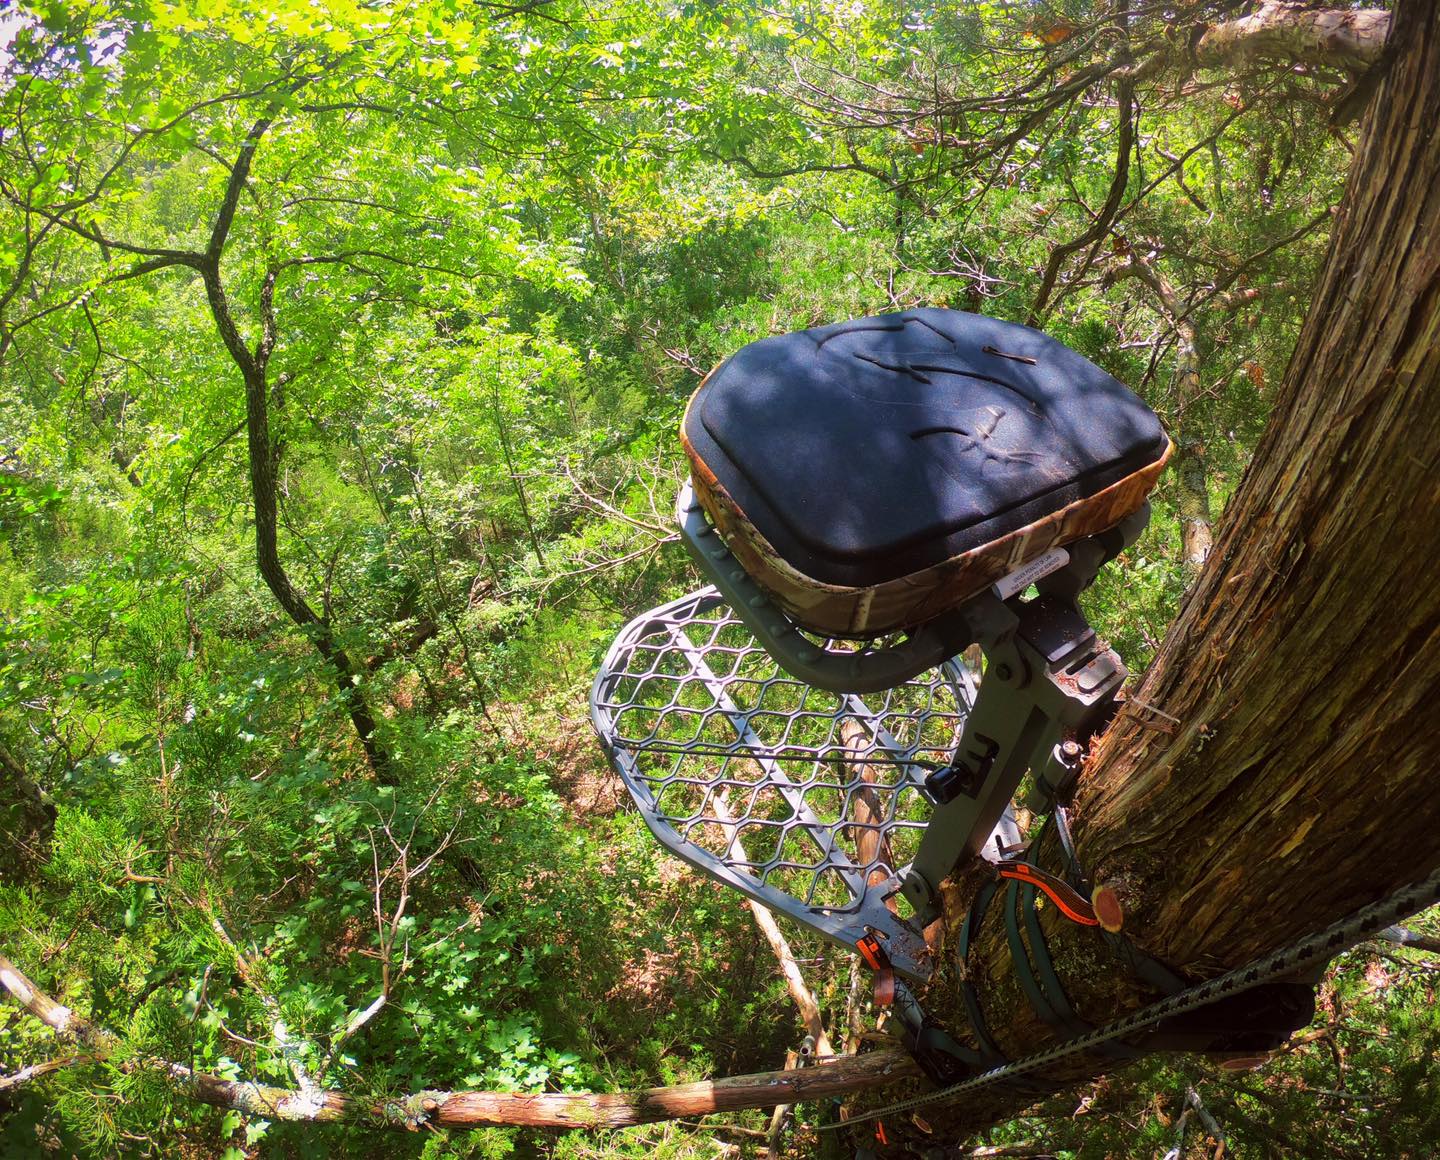
If the stands are lower deer tend to pick up movement easier. There’s a neat explanation to the angles deer can see at: https://www.qdma.com/articles/deer-can-see-you-even-when-theyre-eating
The Key to Success for this Kentucky Hunt: Food Plot Design
Last fall, Grant was on the edge of his seat as he played cat and mouse with a big Kentucky buck!
The success of this hunt was the design of the food plot and the location of the Redneck Hunting Blinds.
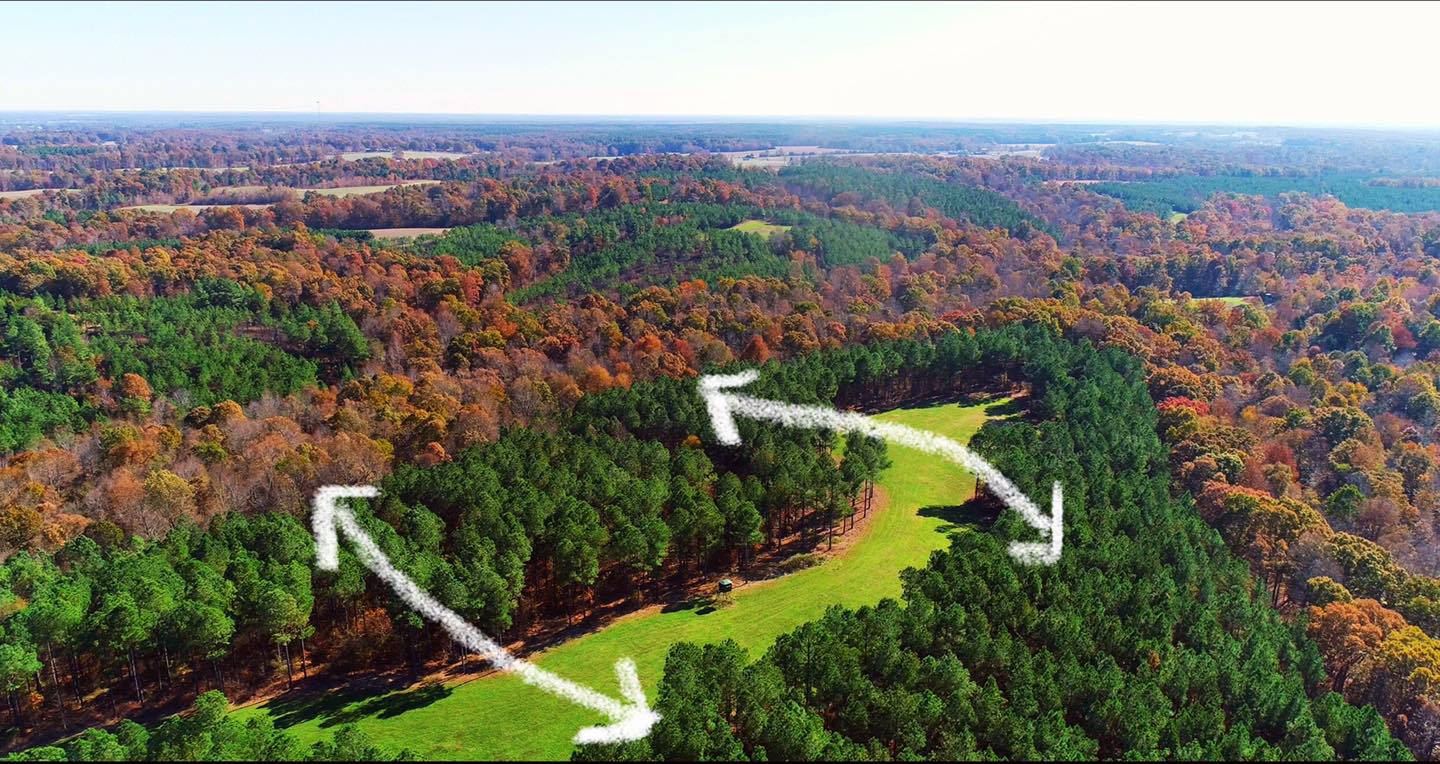
This food plot was in the middle of a pine stand and ran along a ridge top. There were two saddles in this ridge (marked with white lines) and the Redneck blind overlooked the entire plot.
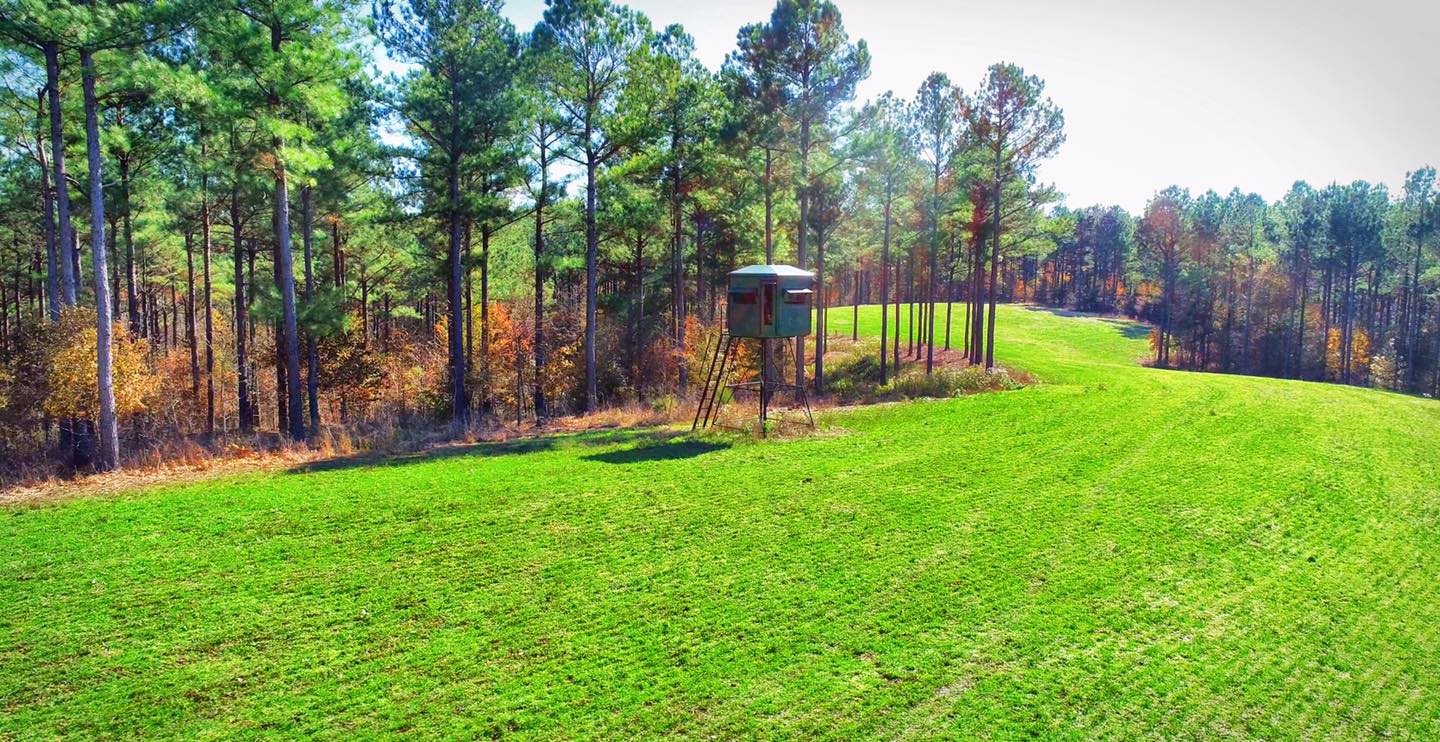
From the blind, deer were not alerted while traveling across the ridge or feeding in the plot.
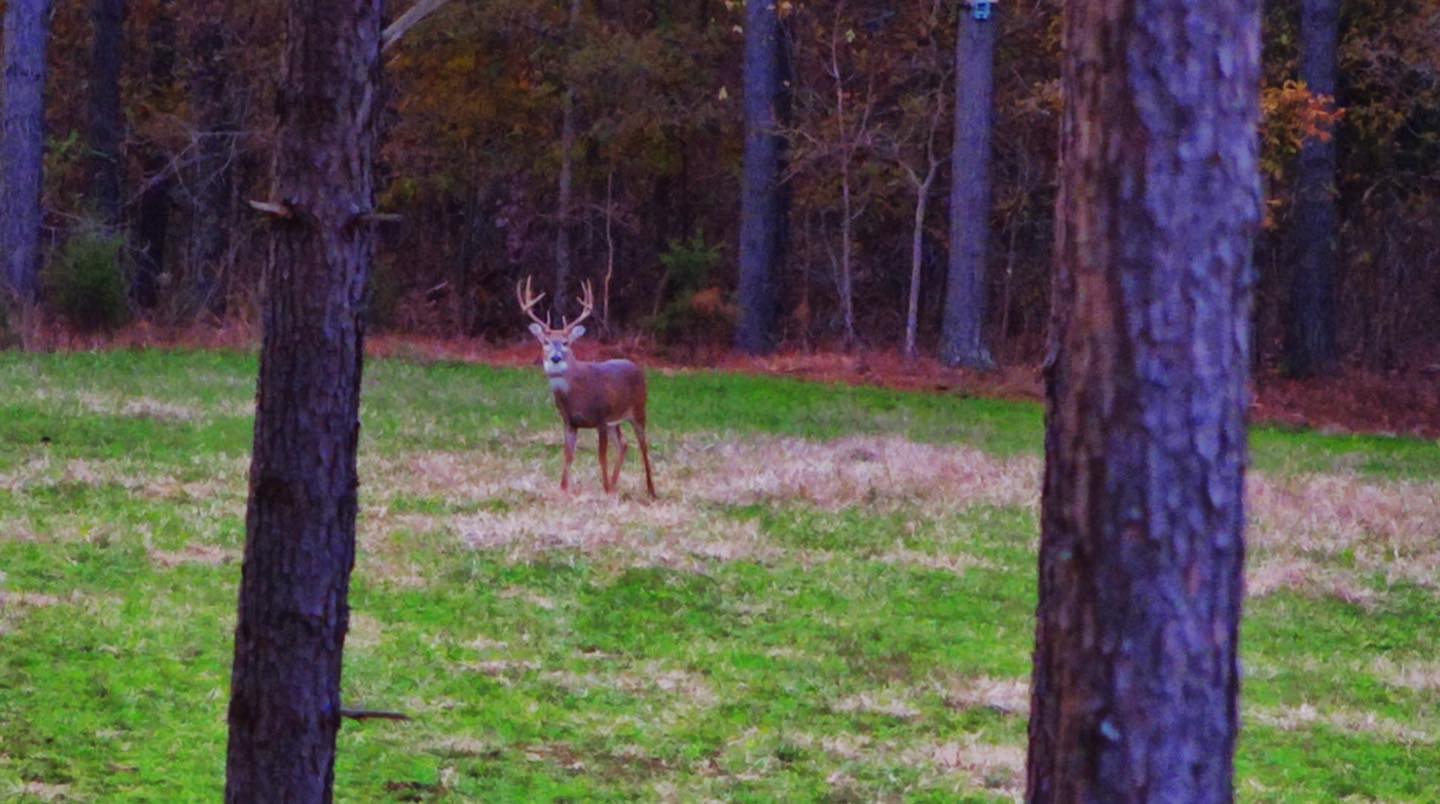
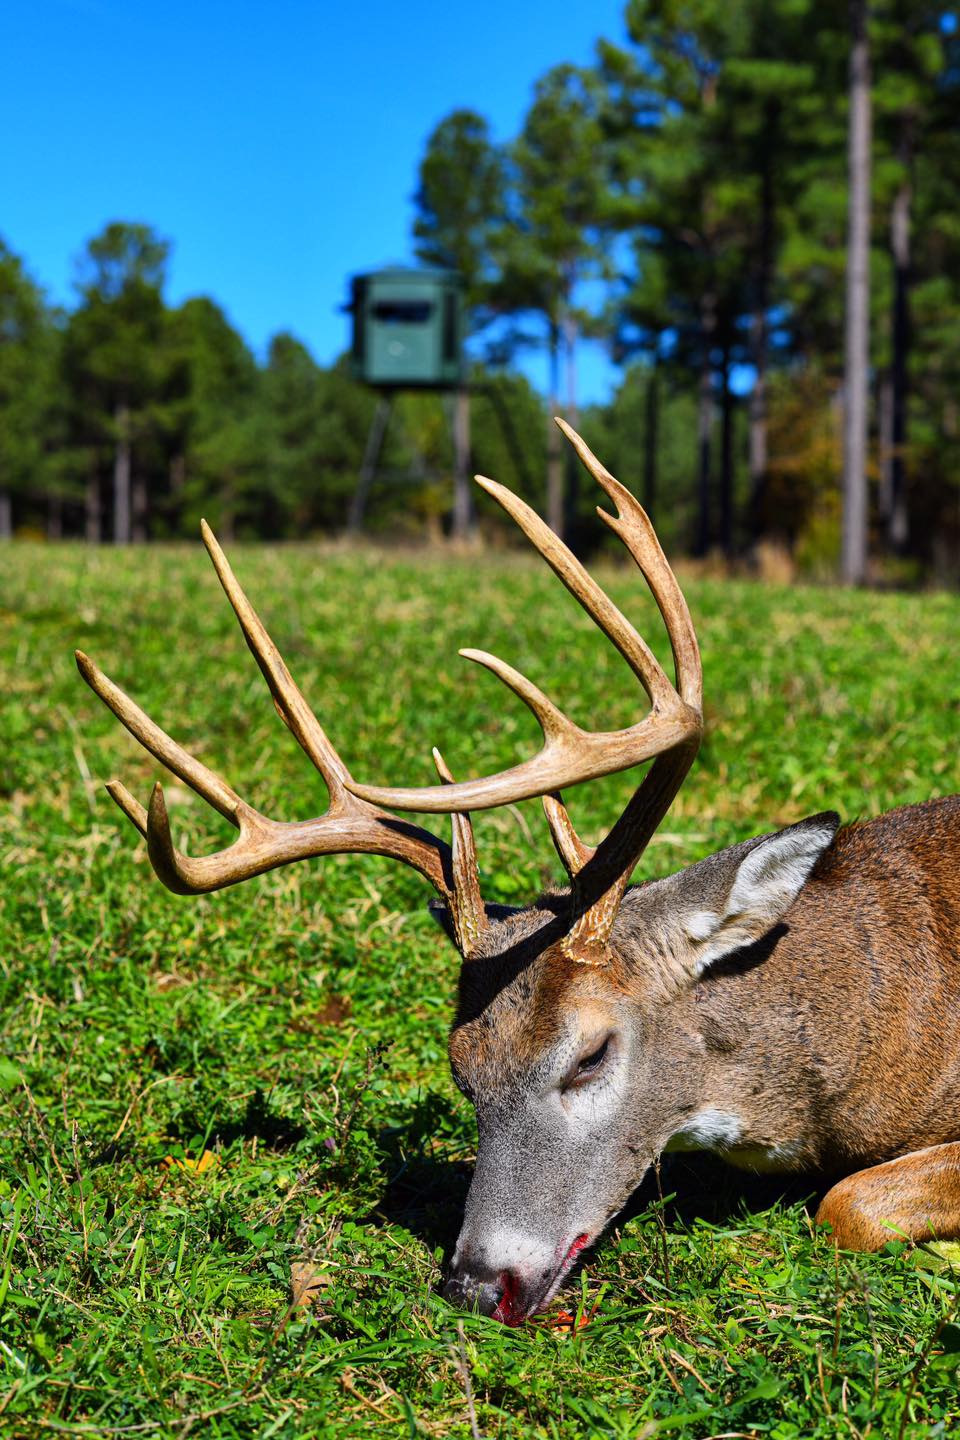
When designing a plot and/or choosing a hunting location, consider how to approach, hunt and exit without alerting deer. You can watch this entire hunt unfold here!
See the Difference In Two Thinned Pine Stands: One Burned the Other Not
Our friend Keith recently shared a great habitat update he’s done on his hunting property! After thinning pines several years ago, he used prescribed fire this past spring and saw a flush of native species.
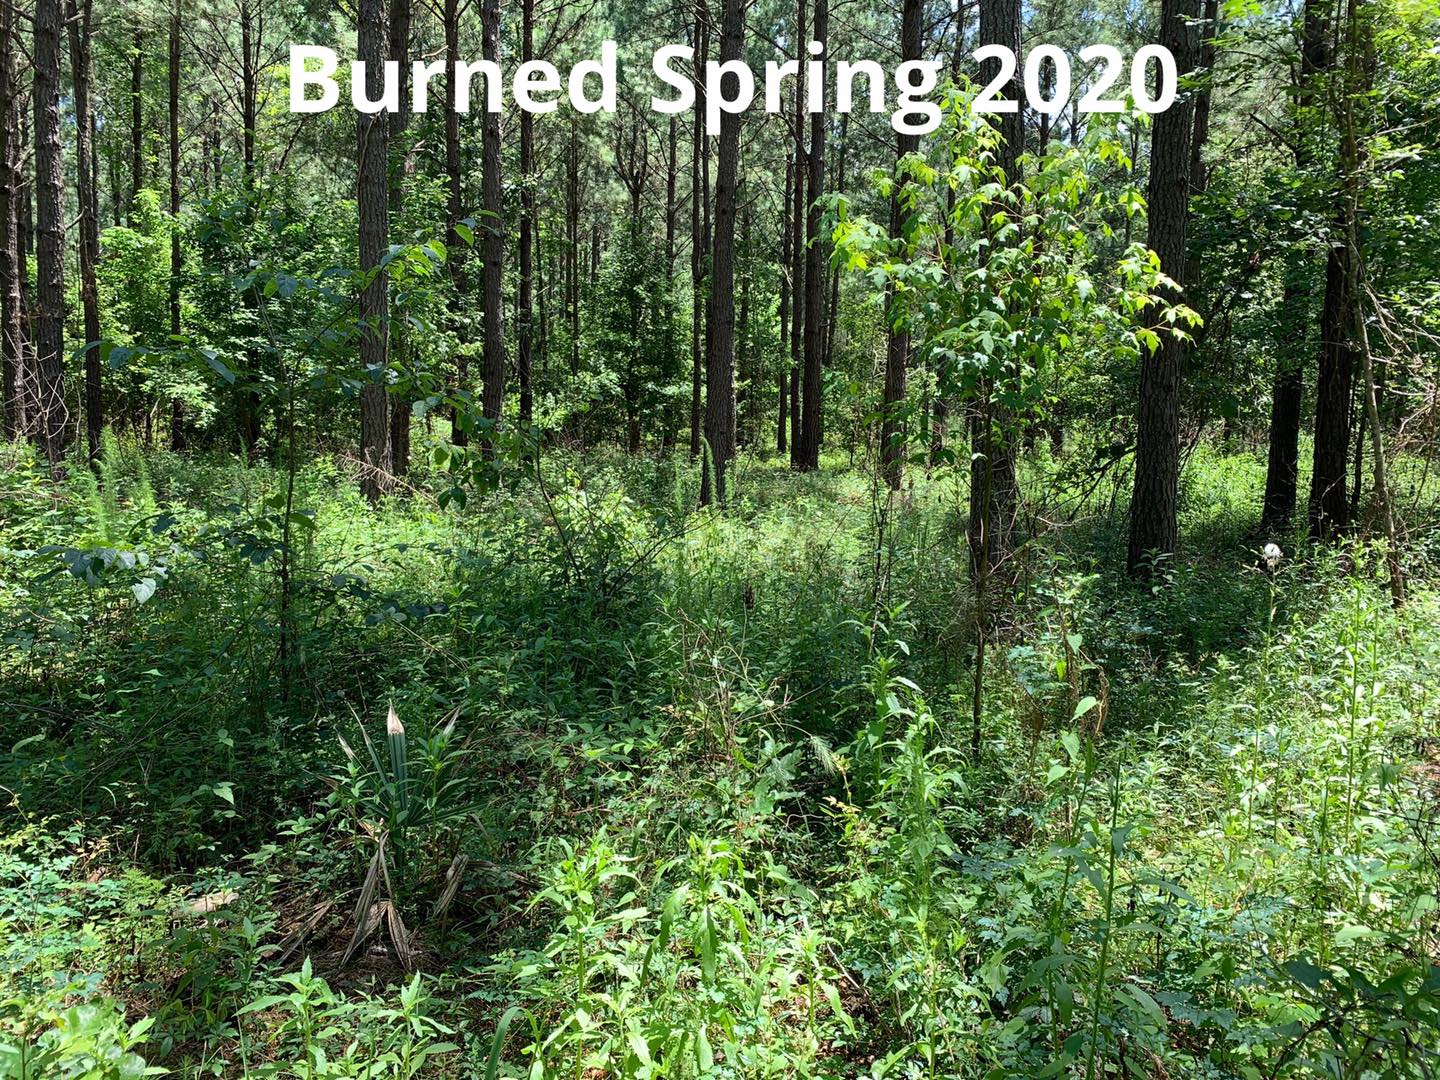
This vegetation is offering great cover and palatable browse. This is a great example that opening up the canopy (in this case thinning the pines) with the use of prescribed fire can create quality habitat. What’s even more interesting is that Keith also shared a photo of thinned pines that was not burned.
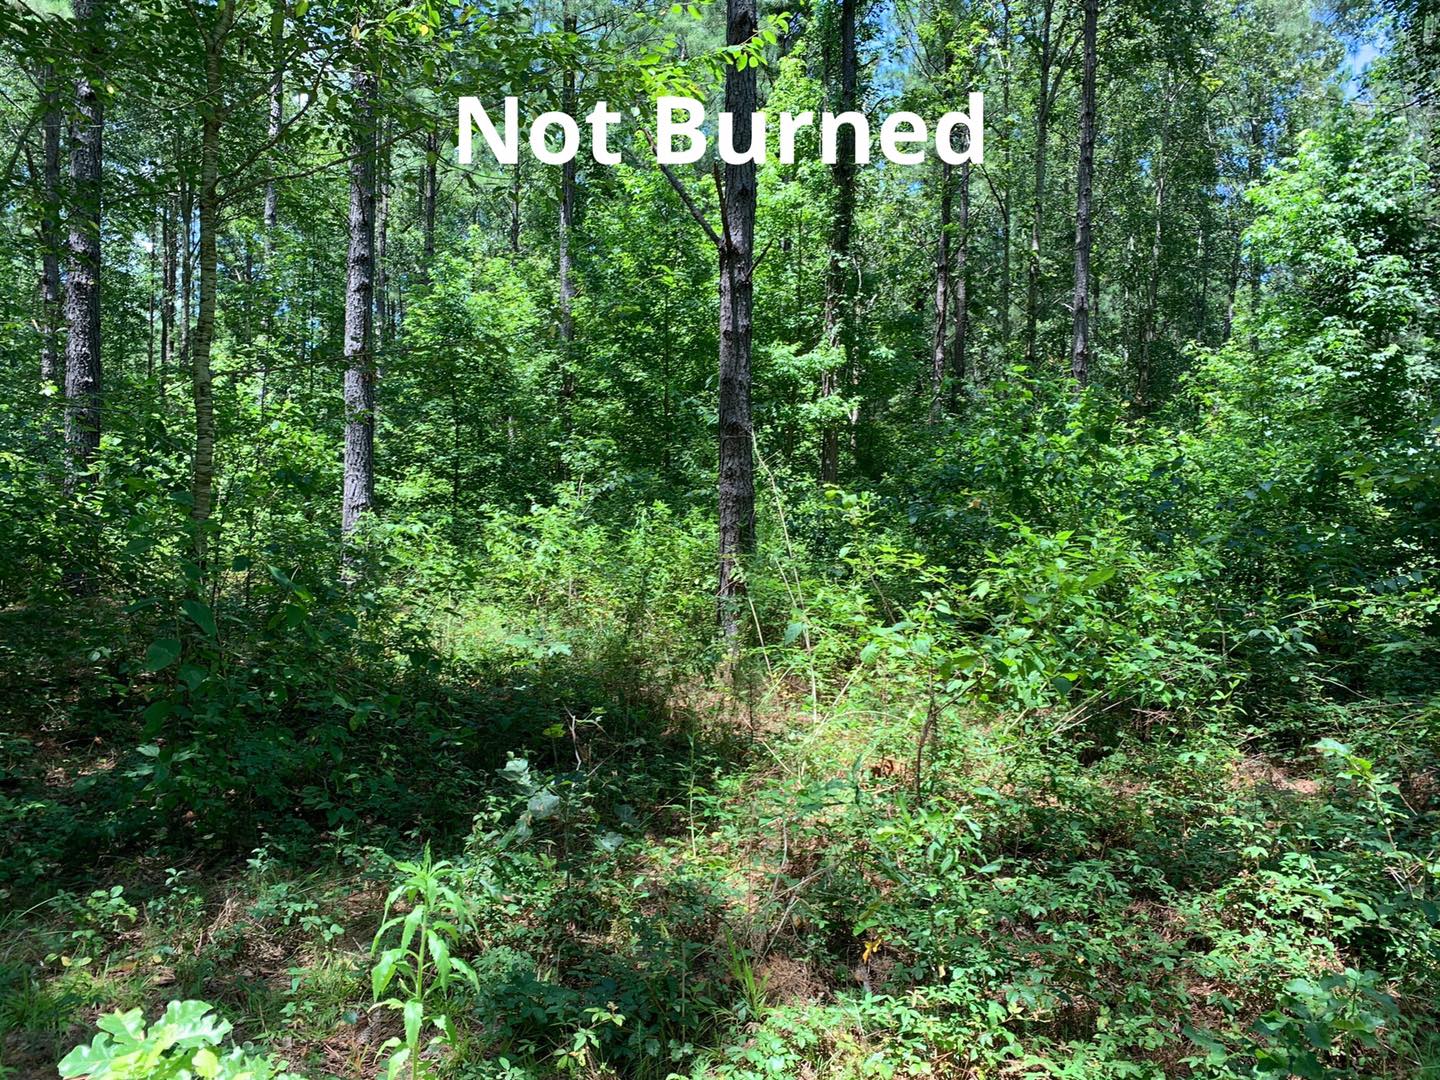
This stand had many more woody species/saplings. Within a few seasons theses species will be shading the ground and browse will be out of reach of critters. If not addressed soon, this area could require a lot of work to convert it back to quality habitat.
Share your habitat improvement updates with us on social media: Facebook and Instagram!
Enjoy Creation!
One Of Our Favorite Hunting Tools That Fits In A Pocket!
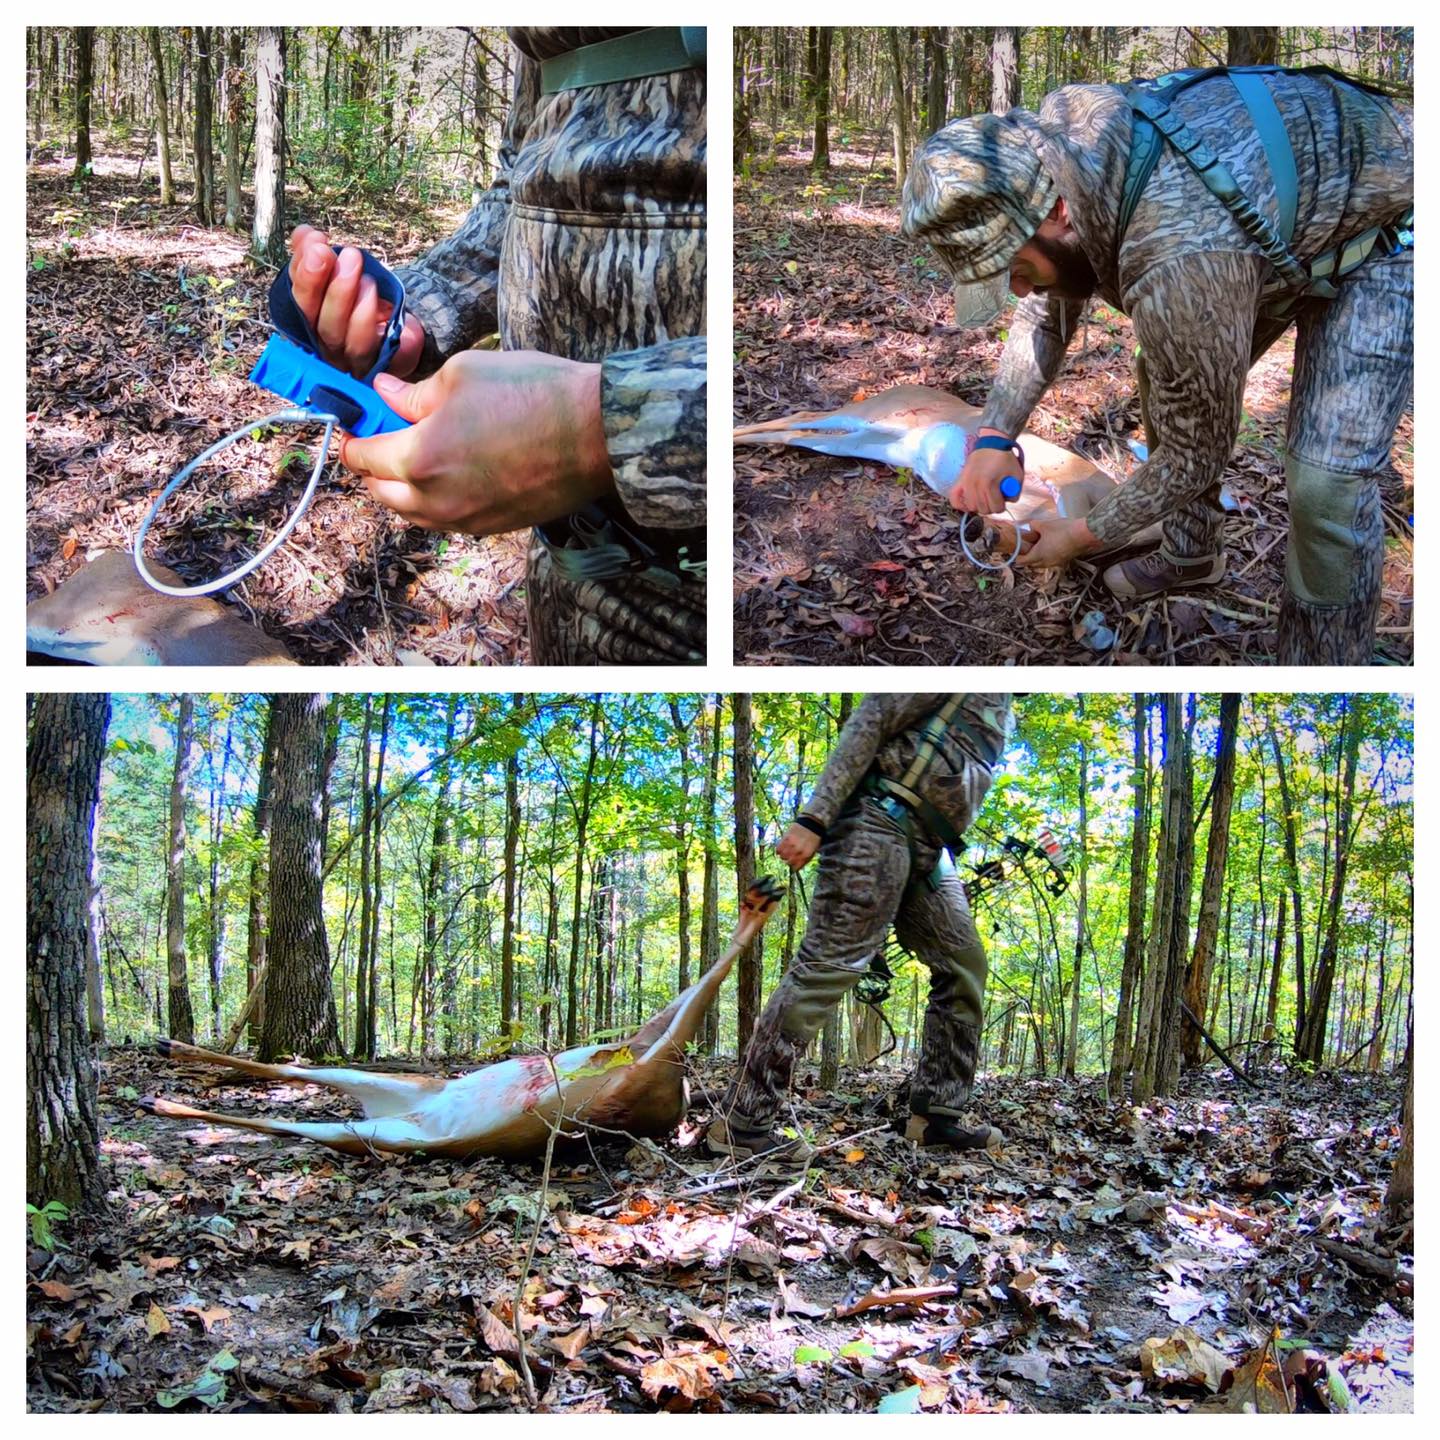
Several years ago, we started using a BUCK CUFFS Deer Drag to drag deer from the woods. It quickly became one of favorite hunting tools!
It fits in a pocket or pack and makes it easy for a hunter to tote deer, hogs, and other critters out of the woods.
Mapping Acorns!
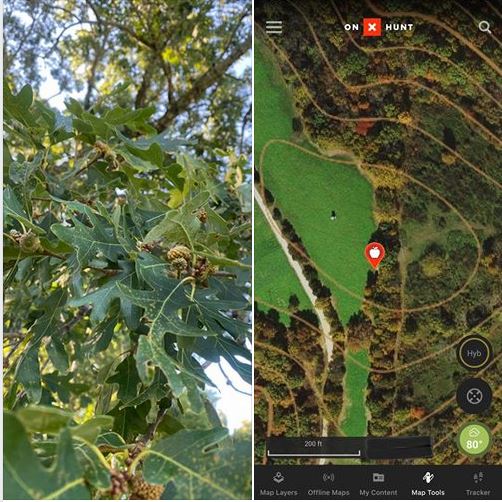
While we’ve been out checking cameras we’ve kept an eye out for acorn producing oaks and marking them in OnX Hunt!
We’ll be hunting in this area when this white oak starts dropping acorns! Let us know how the acorn crop looking where you hunt by joining us on social media and leaving a comment!
Native Browse: Ragweed – It’s Extremely Nutritious
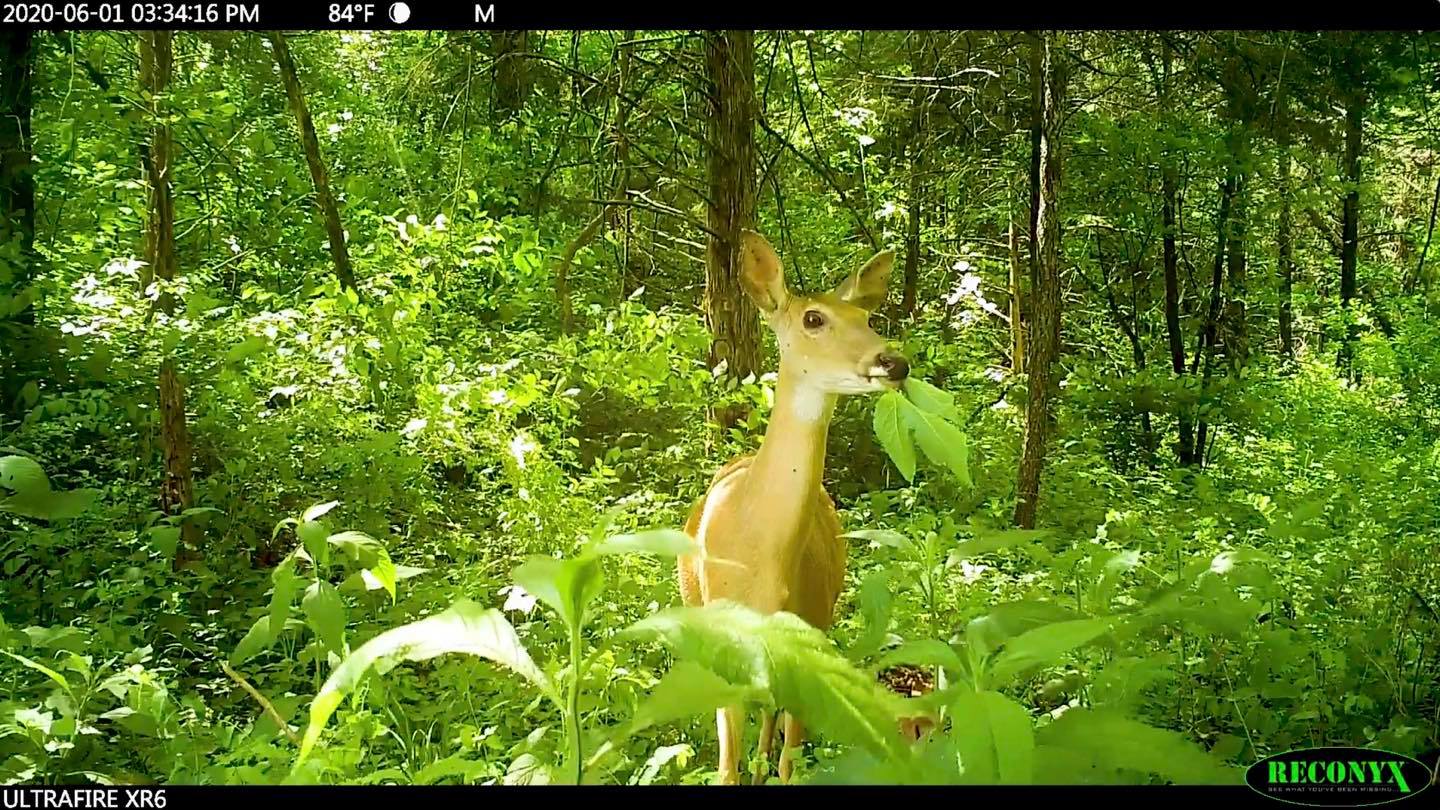
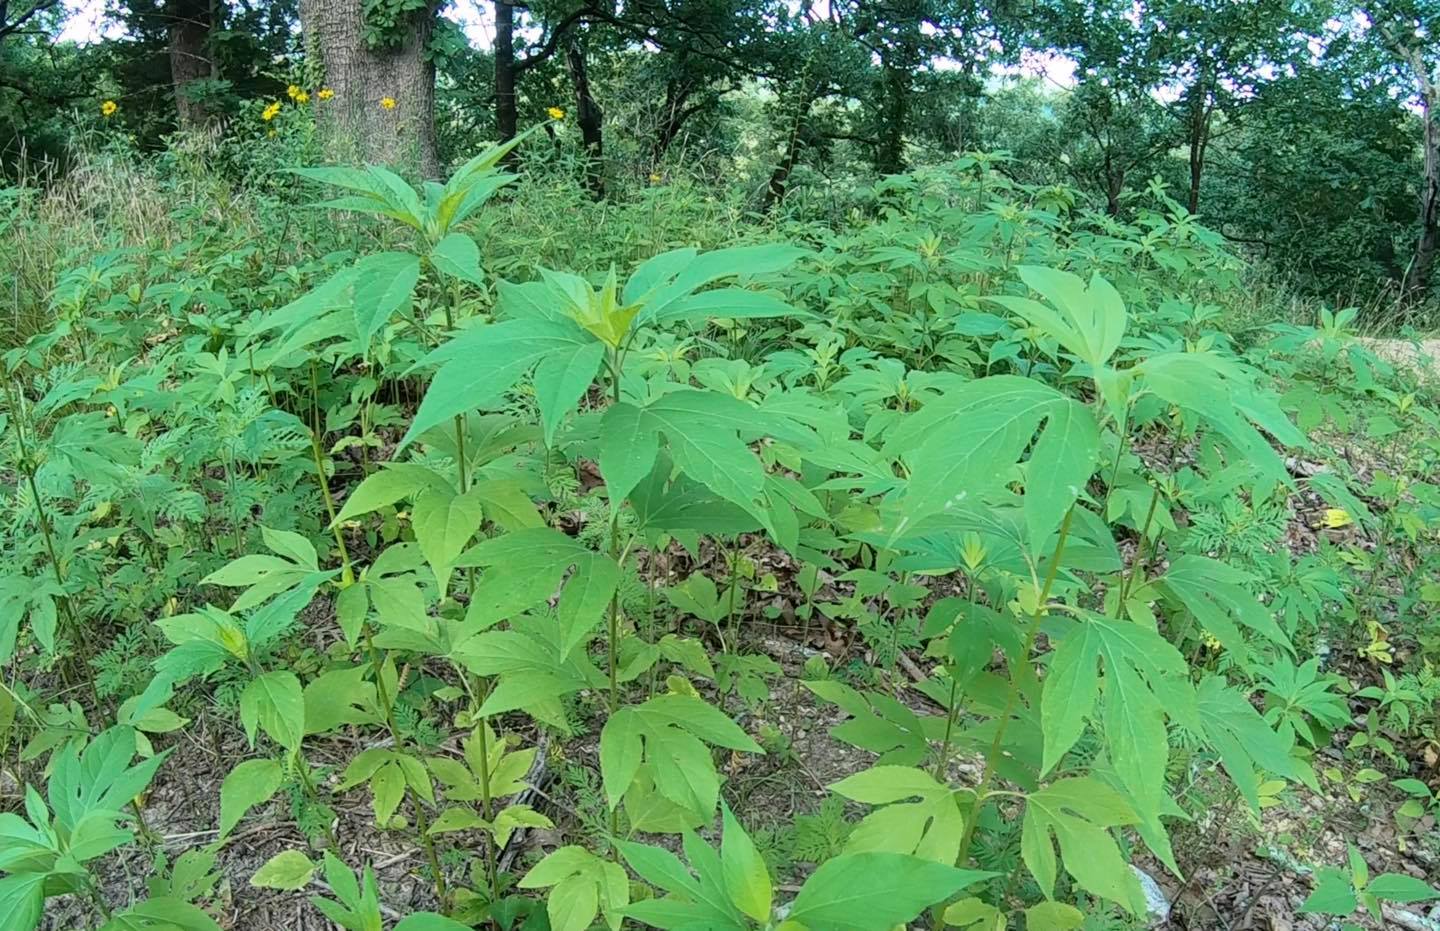
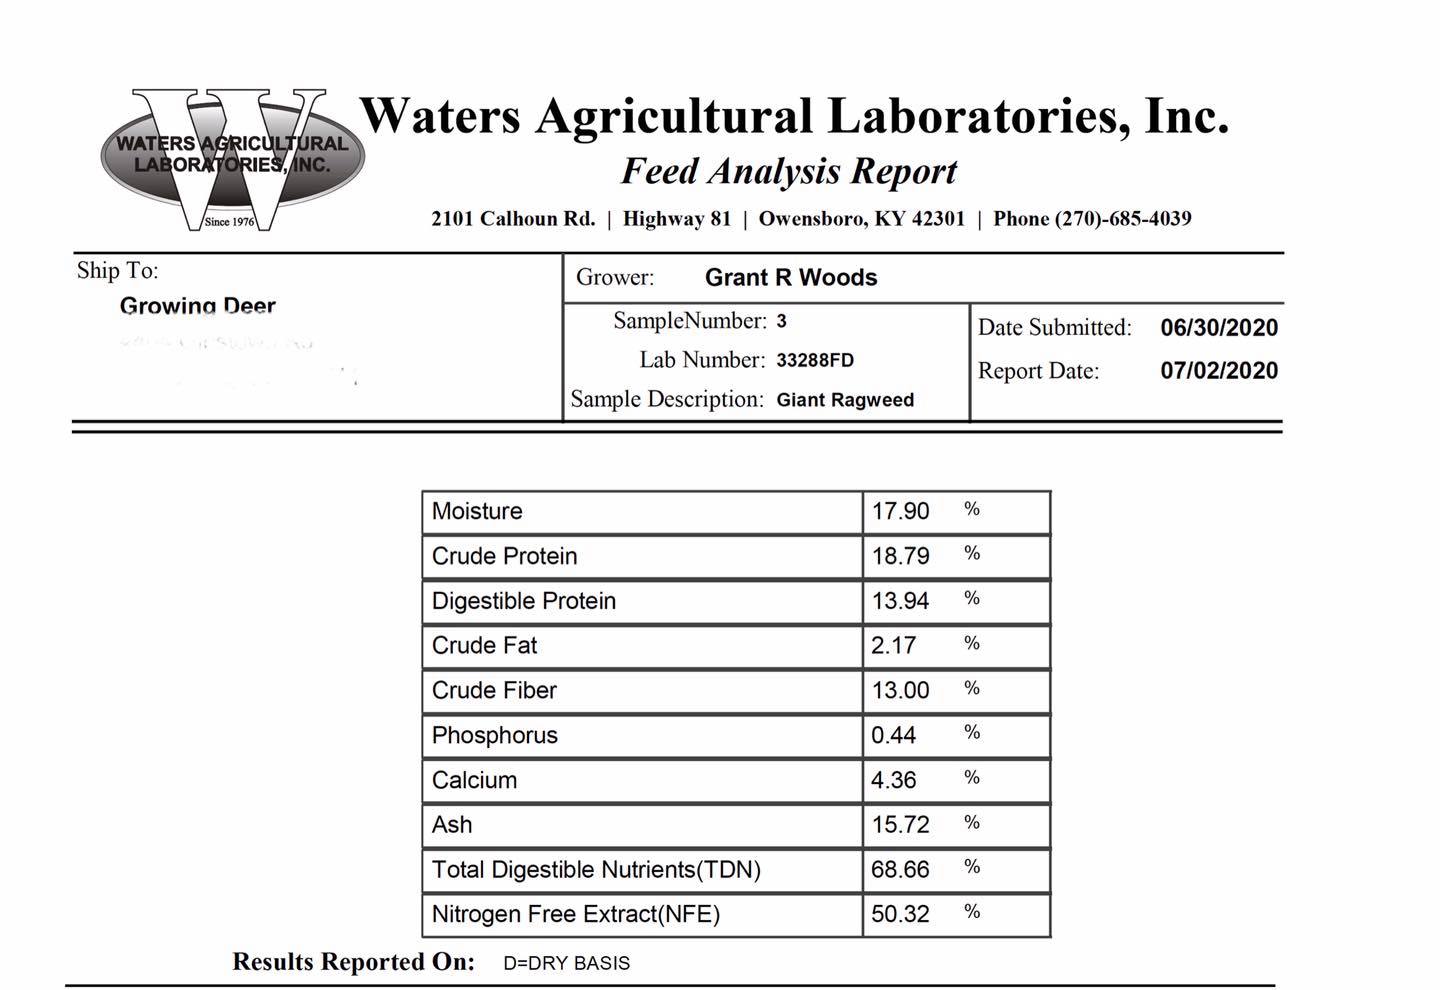
Native browse is extremely nutritious! We noticed an area where deer were hammering the giant ragweed. We collected a ragweed sample and had Waters Ag (same lab we use for soil samples) analyze the nutrient quality. Check out the results. This is one reason we work to improve native habitat! (page down to see the nutritional analysis)
